• Skip to main content
  • Skip to primary sidebar
Freutcake logo
  • Home
  • Holidays
    • New Year's Eve
    • Valentine's Day
    • St. Patrick's Day
    • Easter
    • Cinco de Mayo
    • 4th of July
    • Memorial Day
    • Halloween
    • Thanksgiving
    • Christmas
  • Recipes
    • Appetizers
    • Breakfast
    • Cocktails & Drinks
    • Cheese Boards
    • Desserts
    • Dinner
    • Kid Friendly
    • Lunch
    • Salads
    • Side Dishes
    • Soups
  • Shop
  • About
  • Facebook
  • Instagram
  • Pinterest
menu icon
go to homepage
search icon
Homepage link
  • About
  • Breakfast
  • Dessert
  • Dinner
  • Drinks
  • Salad
  • Kid Friendly
    • Facebook
    • Instagram
    • Pinterest
  • ×
    Home » Design » DIY

    Painted Rope Votives

    Aug 4, 2014 ·

    • Share
    • Email

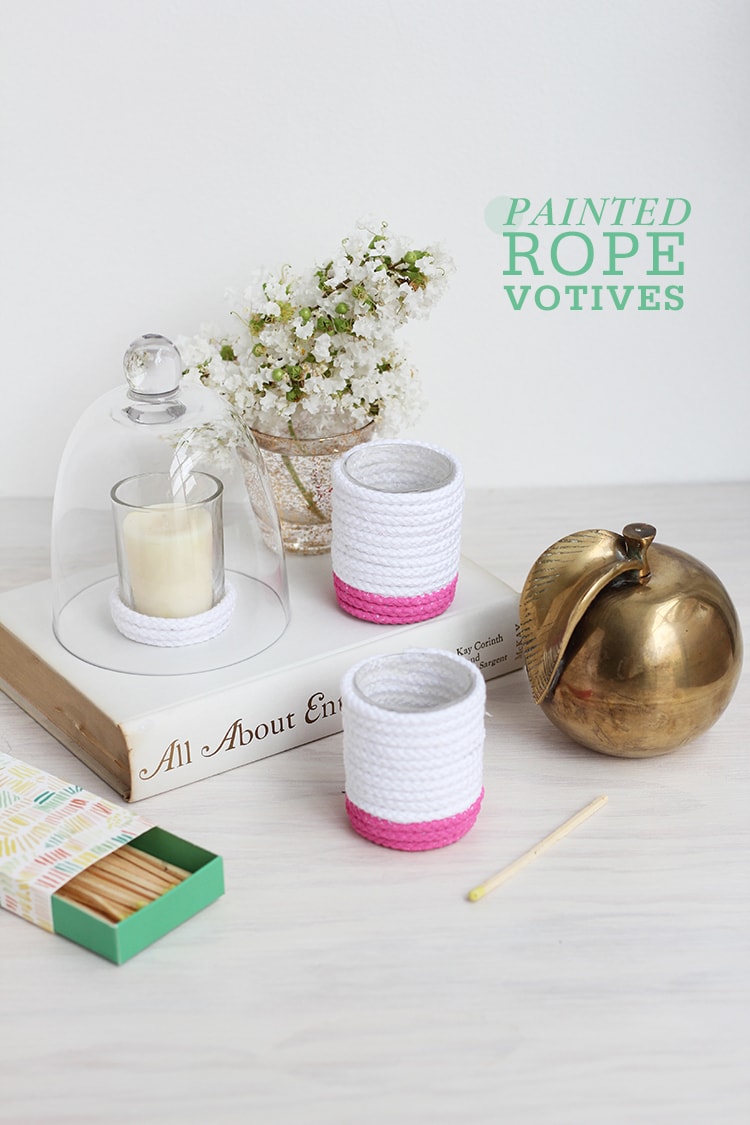
    This past weekend was a dream. It consisted of nothing more than catching up on life and as boring as that might seem, it was the most satisfying thing in the world. Saturday, I finally had a chance to work on making a set of Painted Rope Votives, a project that I have been planning to make for our apartment for quite a few months now. Last fall Marisa and I made these twig votives, one of my favorite projects of all time, and this is a more summery version! Plus they bring such a warm summery ambiance to the room.

    Rope Votives

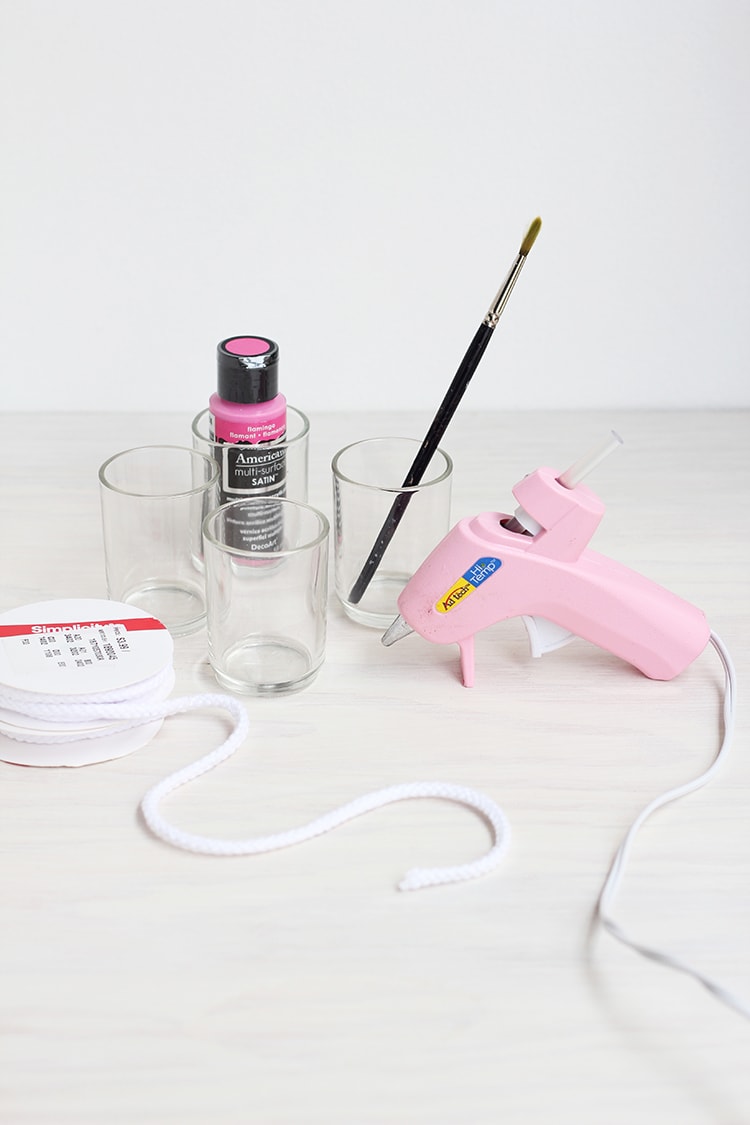
    To make these Rope Votives you will need:

    4-Clear Glass Votive Holders
    3 9' spools white cotton trim
    hot glue gun
    votives and tea lights
    paint brush
    DecoArt Americana Multi-Surface Satin Acrylic Paint, 2-Ounce, Flamingo

    Rope Votives

    Step 1: Starting a the top of the votive, apply a thin line of hot glue around the edge and quickly follow with rope. Pressing onto the glass to secure.
    Step 2: Continue working your way down the votive in a spiral pattern.

    Rope Votives

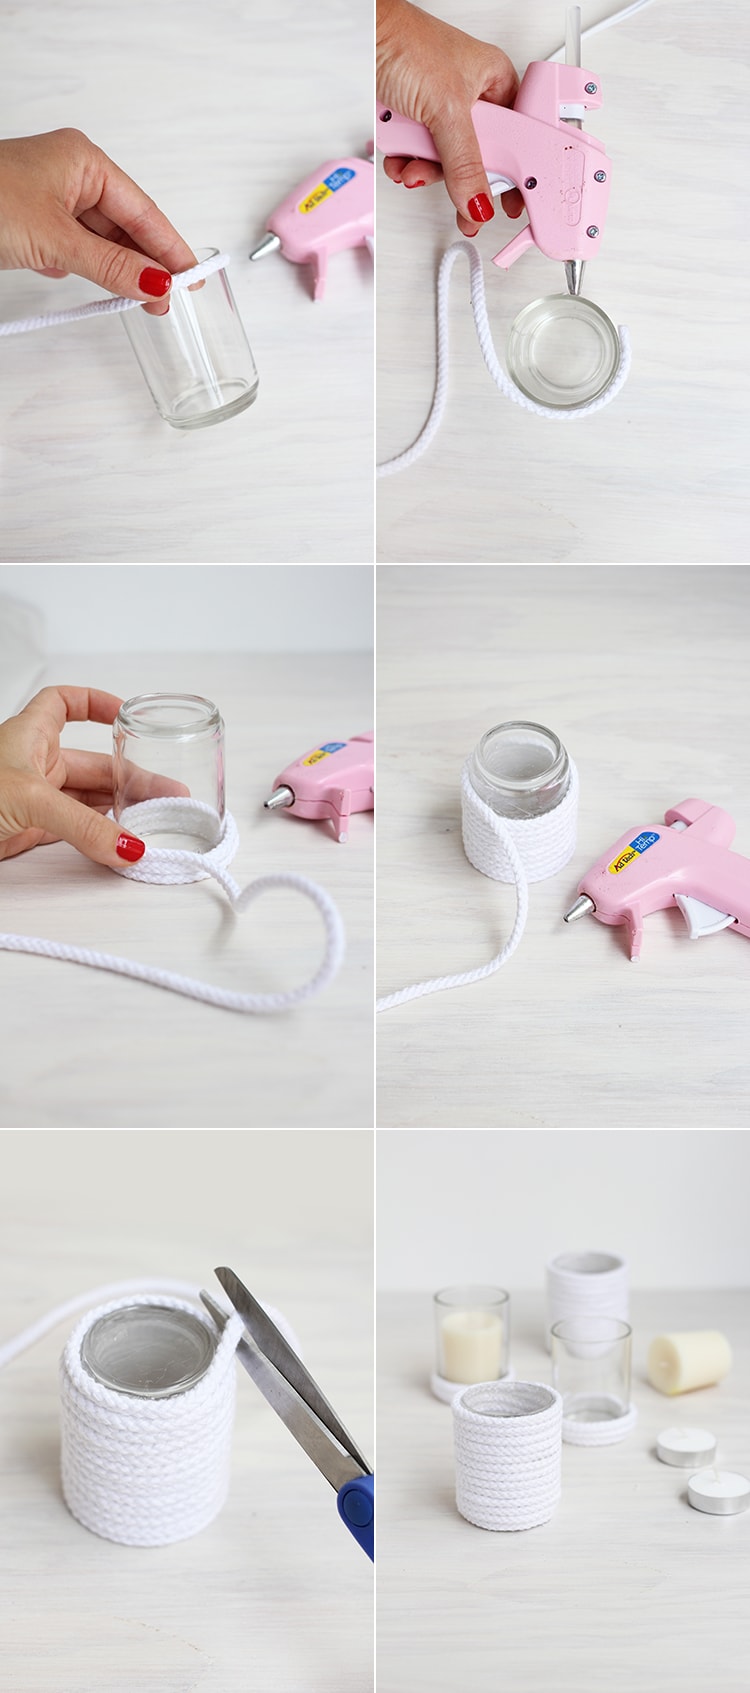
    Step 2: When you come to the base of the votive, cut the rope at a diagonal and glue the end down. 
    Note: I made two votives completely covered and two with just three rows of rope at the bottom. For this option, start gluing rope at the bottom versus the top.

    Rope Votives

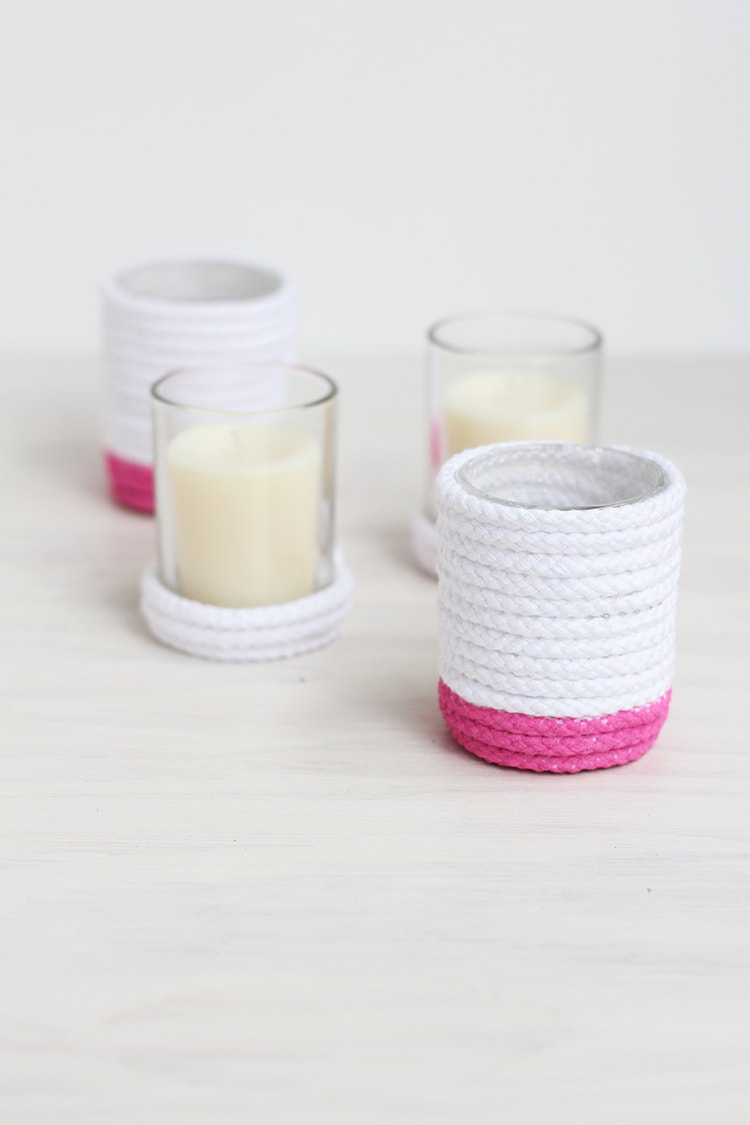
    Step 3: To add a painted band to the bottom of each votive, invert votives and paint the bottom three rows. Or get creative! Try painting a spiral, different colored rows or the entire votive. I would love to try painting these solid gold.

    Rope Votives

    Step 4: Insert candles! For the votives that are completely covered in rope, I used small tea light candles to keep the flame away from the rope. For votives with just a small band of rope at the bottom, I used larger votive candles.

    I absolutely love the way these turned out! I might even have to make some larger versions using hurricanes and actual rope. What else can I use to cover votive holders?

    Rope Votives

    photos by Leah Bergman

    More DIY

    • Halloween Mantle Decor
      Halloween Mantle Decor
    • Homemade Vitamin C Wellness Gummies Recipe
      Homemade Vitamin C Gummies
    • How to Dye Easter Eggs with Blueberries
      How to Dye Easter Eggs with Blueberries
    • Funfetti Birthday Cake Slime Recipe
      Funfetti Birthday Cake Slime
    • Share
    • Email

    Reader Interactions

    Comments

    1. kikucorner says

      August 04, 2014 at 6:00 am

      These are great - a perfect way to subtly capture the nautical trend!

      • Leah Bergman says

        August 04, 2014 at 8:27 am

        I agree! I like a subtle and modern spin on nautical.

    2. Sarah from Loser Girl Wins says

      August 04, 2014 at 6:52 am

      This is way too adorable and has such a Kate Spade vibe. Love it Leah, definitely have to try this one. Hope your week is starting off fabulously love xx

      • Leah Bergman says

        August 04, 2014 at 8:24 am

        Thank you Sarah! I will take a Kate Spade compliment any day. 😉

    3. Christmaskitty says

      August 04, 2014 at 11:48 am

      How fun! I'd like to try with some fun washi tape

      • Leah Bergman says

        August 05, 2014 at 2:53 pm

        Good idea! I'm going to give it a try. 😉

    4. Marisa says

      August 05, 2014 at 11:21 pm

      These are absolutely brilliant Leah!!

      • Leah Bergman says

        August 06, 2014 at 8:50 pm

        Thank you my friend!

    Primary Sidebar

    Hey, I'm Leah, nice to meet you! I share easy, delicious and beautiful recipes to inspire everyday cooking.

    More About Me...

    Search

    Spring Recipes

    • Chocolate Bunny Martini Easter Cocktail Recipe
      Chocolate Bunny Martini Easter Cocktail
    • Easy Deviled Egg Dip Recipe
      Creamy Deviled Egg Dip
    • Meyer Lemon Bundt Cake
      Lemon Yogurt Bundt Cake
    • Orange Cream Scones Recipe
      Orange Cream Scones
    Take me to the recipes!

    Footer

    ↑ back to top

    Meet Leah

    • About
    • Shop
    • Privacy Policy
    • Contact

    Recipe Index

    • Appetizers
    • Breakfast
    • Cocktails & Drinks
    • Cheese Boards
    • Desserts
    • Dinner
    • Kid Friendly
    • Lunch
    • Salads
    • Side Dishes
    • Soups

    Holidays

    • New Years Eve
    • Valentine's Day
    • Patrick's Day
    • Easter
    • Cinco de Mayo
    • 4th of July
    • Halloween
    • Thanksgiving
    • Christmas

    © 2021 FREUTCAKE, ALL RIGHTS RESERVED