
Homemade vanilla bean ice cream dipped in chocolate, sprinkled with salted peanuts and served up in a sugar cone. Need I say more? I'm serving up homemade Ice Cream Sundae Cones this summer and feeling about ten years old again.
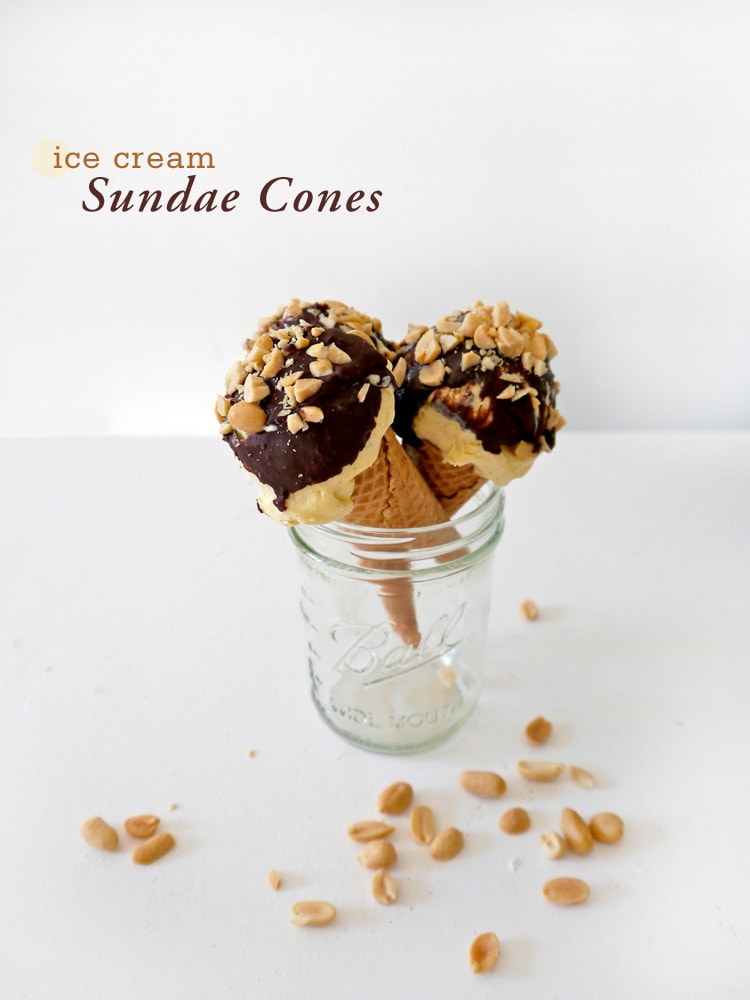
Inspired by childhood memories of ice cream truck sweets, this homemade version of an Ice Cream Sundae Cone is my new favorite summer treat.
It's hard to improve on an original, this is true, but somehow Bi-Rite's recipe for Vanilla Ice Cream seems to achieve just that. Naturally I added that little hidden treasure, a dollop of chocolate, to the bottom of each cone. It just wouldn't be a Sundae Cone without that last chocolatey bite!
Yes, this version is a bit more work I'll admit it, but trust me when I say it's so worth your efforts. Plus snacking on little clusters of salted peanuts and melted chocolate along the way make for a sweet process. Here's to summer at it's best! Just don't tell the ice cream man.
photos by Leah Bergman
Homemade Sundae Cones
makes 6
Step 1: Make the Ice Cream
Bi-Rite Vanilla- recipe via Sweet Cream and Sugar Cones
Ingredients:
1 ¾ cups heavy cream
¾ cups 2% milk
½ cup granulated sugar
¼ teaspoon salt
1 vanilla Bean
5 large egg yolks
2 teaspoons pure vanilla extract
Directions:
1. Infuse the milk/cream: stir the cream, milk, half of the sugar (¼ cup) and salt in a heavy saucepan. Split the vanilla bean and use your knife to scrape the seeds from the inside. Add the seeds and bean to the pan, heat over medium-high heat. When the cream mixture begins to bubble around the edge, remove it from the heat and cover. Let it steep for 30 minutes.
2. Make the base: whisk the yolks, just to break them up in a medium (heat-proof) bowl. Add in the remaining sugar and whisk until smooth, set aside.
3. Uncover the pan, heat over medium-high heat. Reduce it to medium heat once the mixture hits a slight simmer. To temper the eggs, slowly ladle about ½ cup of the hot mixture into the yolk mixture, while whisking. Add one more ladle of the hot mixture to the yolks, making sure to whisk quickly. With a heat-proof spatula, stir the cream mixture as you slowly add in the egg-cream mixture to the saucepan.
4. Cook the ice cream base over medium heat, stirring constantly until it has thickened, about 1 to 2 minutes. The mixture should coat the back of a wooden spoon, holding a clear path when you run your finger down the spoon. Strain the base through a fine-mesh strainer into a clean container, over an ice-water bath. Using a clean spatula, stir the base frequently until its has cooled and remove it from the ice-water bath. Cover with plastic wrap, refrigerate for at least 2 hours or overnight.
5. Freeze the ice cream: Add the vanilla extract to the base, stirring until combined. Freeze the base in your ice cream machine following your manufacturer’s directions. While the ice cream churns, put the container that you’ll keep your ice cream in the freezer. The ice cream is ready once it reaches the consistency of soft-serve, or the paddle creates a distinctive path as it churns. Freeze in prepared container overnight.
Step 2: Assemble the Cones
Ingredients:
6 sugar cones
6 ounces semisweet chocolate chips, divided
1 tablespoon vegetable oil
¼ cup chopped salted peanuts
Directions:
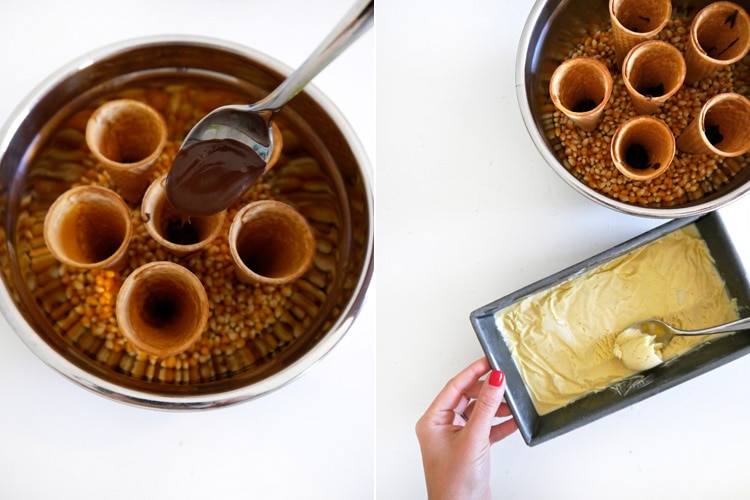
1. Set cones upright in loaf pan or bowl filled with uncooked rice, popcorn kernels, of whatever dry pantry item you have on hand. Melt one-quarter of the chocolate in a small sauce pan on low, stirring until melted and smooth. Spoon into tips of cones and let cool.
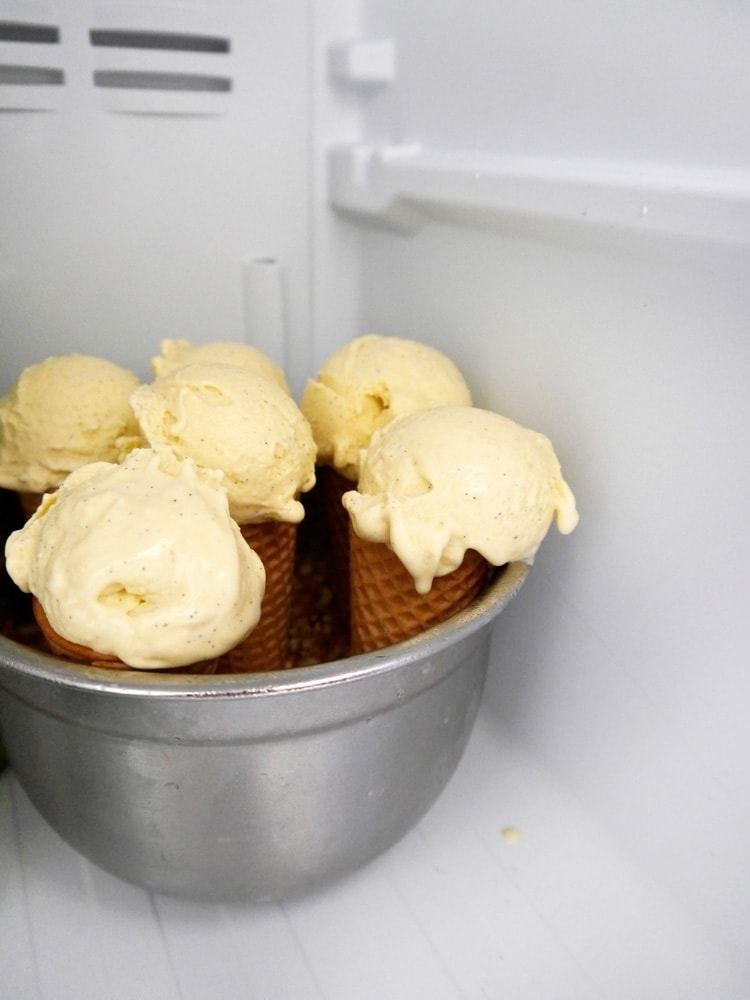
2. Pack each cone with ice cream, then top with a round scoop, pressing down to secure. Return cones to rice-filled pan and freeze until firm, 6 hours (or overnight).
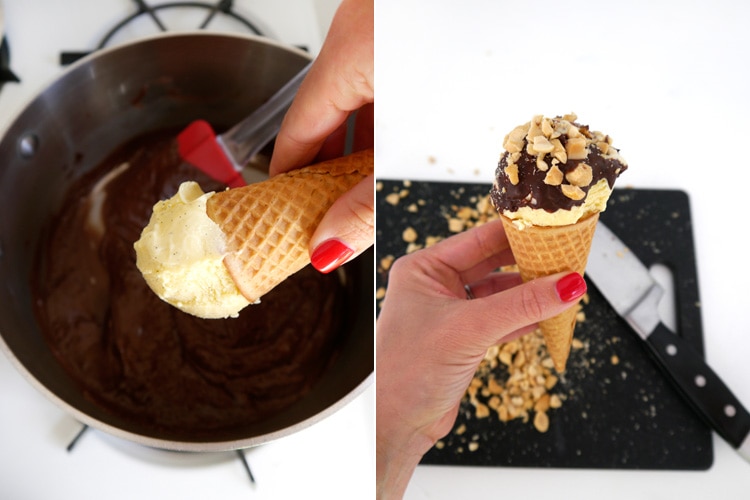
3. Melt remaining chocolate in saucepan, stirring until melted and smooth. Stir in oil and let cool slightly. Working quickly, invert each cone, dip in chocolate, set upright in pan, and sprinkle with nuts. Freeze until firm, 1 hour. Enjoy!


jacquelyn |lark&linen says
Can I skip breakfast and move straight to this? Please!
kelsey says
yum yum yum!
Joy | Frock Files says
Ohhhh I love this! Drumsticks were my favorite when I was a kid. In fact, they're still my favorite. But what's great about doing it yourself is that you could add any ice cream flavor you want -- bonus!
Gaby [The Vault Files] says
Delicious!!! and yeap, you completely took me back to my childhood 🙂
Warm Vanilla Sugar says
These are sooo freaking cute!! Love!
helenalouisa says
Oh my!! Those look so good for summer!
Chelsea says
That first sentence totally got me. MUST. HAVE. ICE CREAM. NOWWWW!
xoxo,
Chelsea & The City
happy paper place says
This looks amazing! what a great idea! I have to admit, I may cheat and make a quick version of this...with store-bought ice cream. 🙂 -Marie