
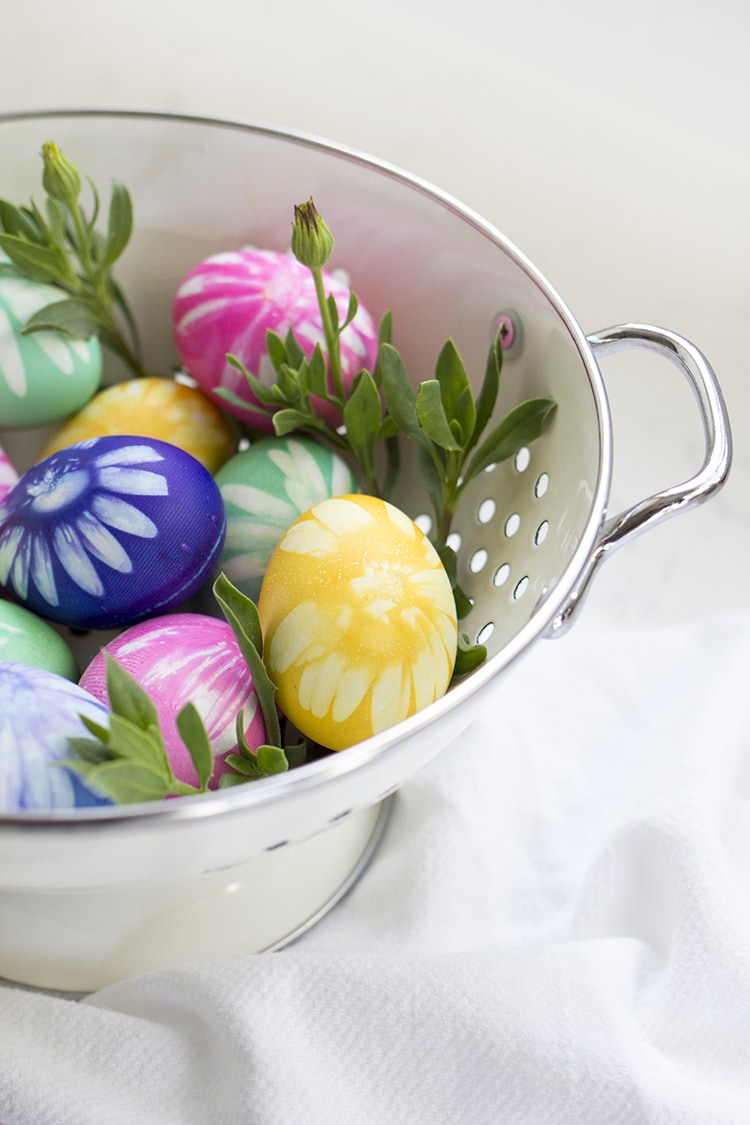
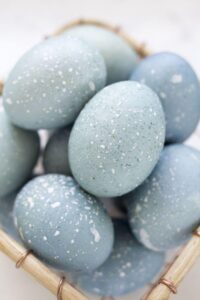
Flower Dyed Easter Eggs are a beautiful way to bring spring into your home.
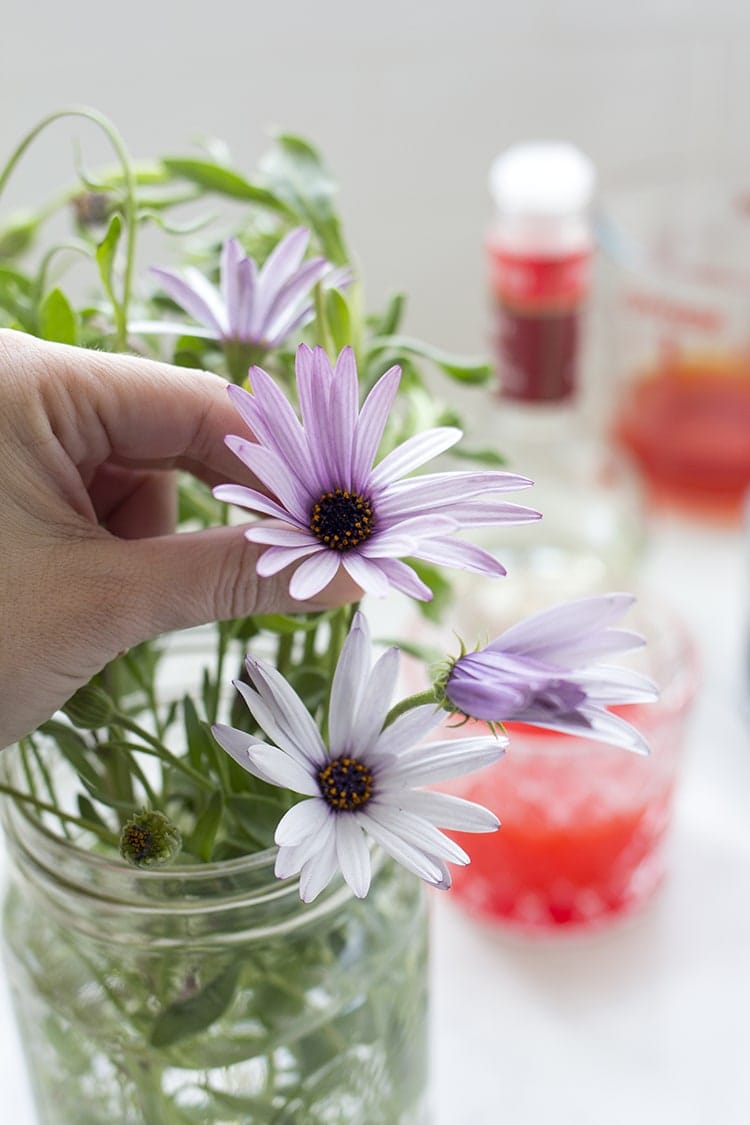
I've been wanting to try this technique of dying eggs because it looked incredibly easy and doesn't require any sort of time consuming technique. (My sort of project!) All you need are some study flowers like daisies, a pair or two of stockings, hard boiled eggs, and dye.
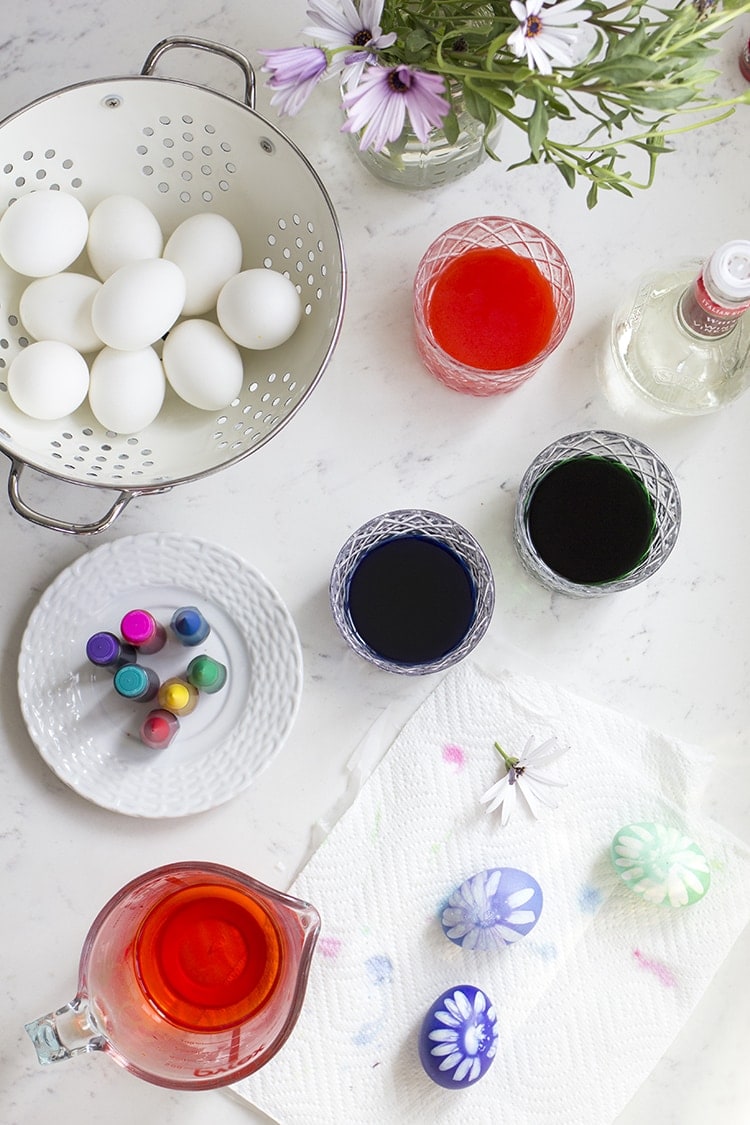
I went old school and made glasses of egg dye using boiling water, food coloring and vinegar which makes much more vibrant and evenly dyed eggs than any store bought dye. I used this guide to make the colors; minty green, hot pink, violet-blue, and marigold yellow. The ratio is just ½ cup boiling water, food coloring, and 2 teaspoon vinegar.
Here's how to make the eggs:
Step 1: Cut a small daisy off of the stem and place flower face down over the egg.
Step 2: Cut a 3-4" piece of stocking and tie a knot in one end (if it's not the toe portion)
Step 3: Cover egg with stocking securing the flower in place.
Step 4: Making sure the stocking is tight, tie a knot in the other end.
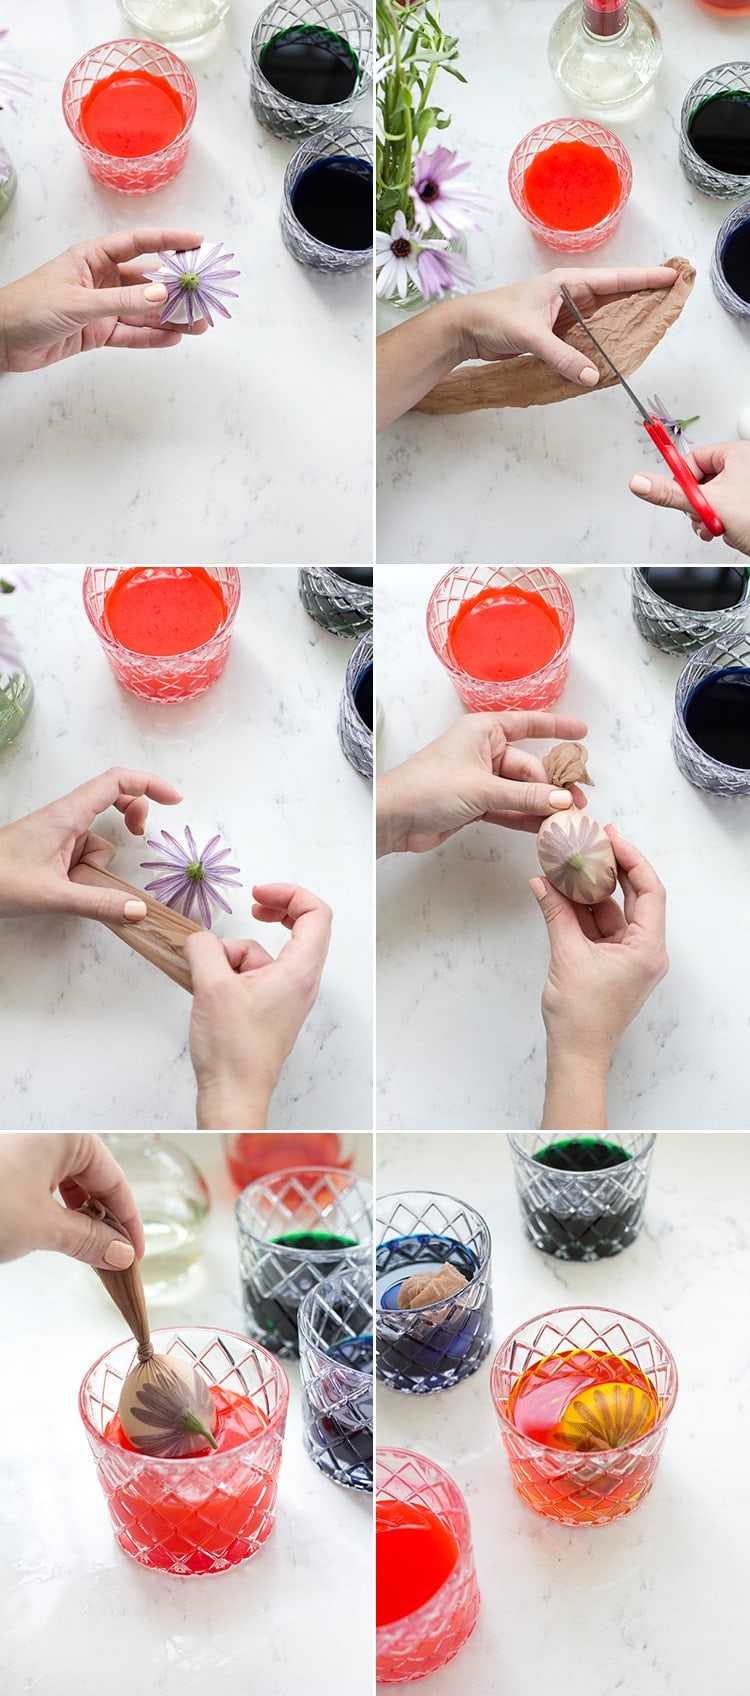
Step 5: Drop egg carefully into dye and roll egg around gently until completely covered in dye. Allow to sit until you have your desired color (up to 5 minutes).
Step 6: *Not photographed because I totally forgot! Remove the egg from the dye, cut open the stocking and remove both the stocking and flower from the egg.
Step 7: Gently blot the egg with a paper towel to remove any extra dye so that the flower silhouette stays white!
Step 8: Allow eggs to dry on a paper towel.
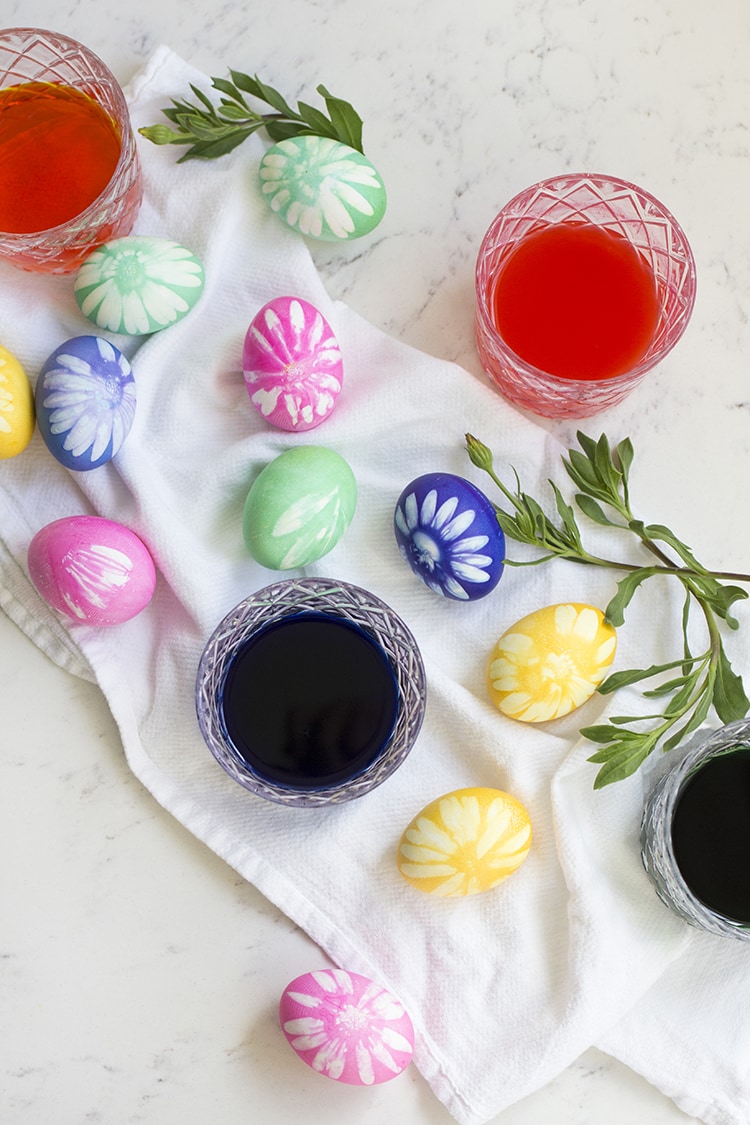
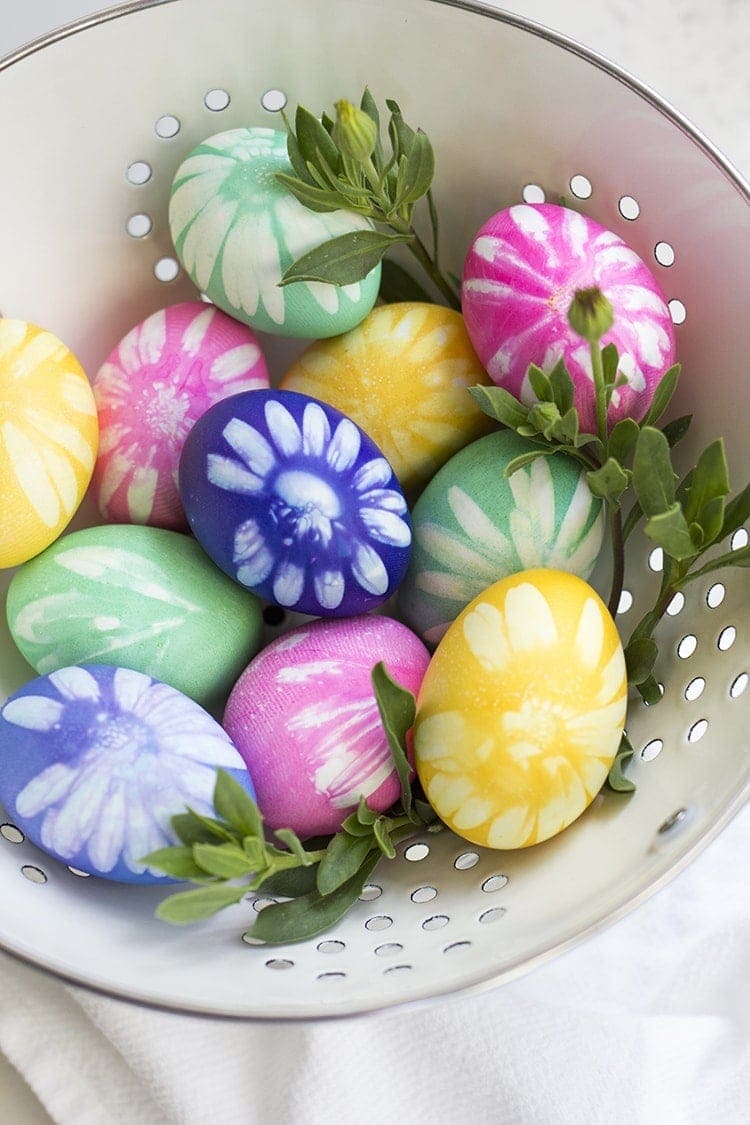
I absolutely LOVE the way these eggs turned out. And while I used daisies (because it's what we had growing) you could use any flower, leaves or even herb you like!
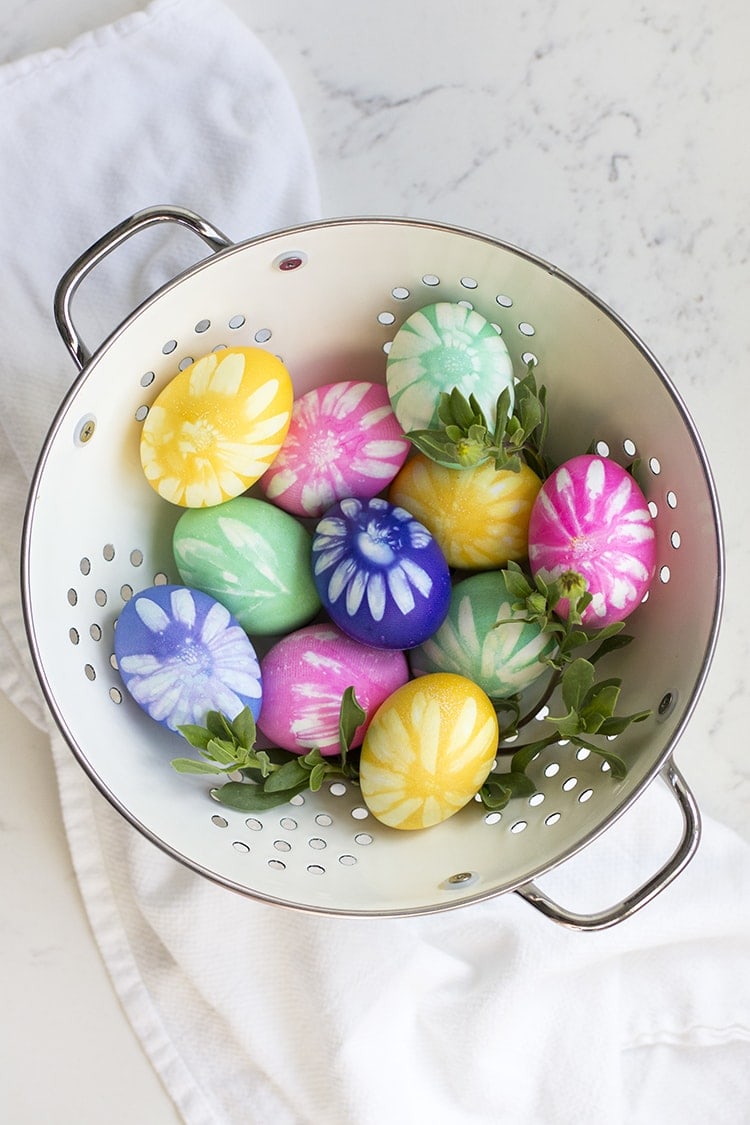
These eggs are the perfect ode to spring!
 photos by Leah Bergman

Lane says
How pretty! I'd like to try with ferns ?
Leah Bergman says
I bet they would be so pretty with ferns!
MaryAnne says
Love, love, LOVE these!!!
Leah Bergman says
Thanks Mom! They were so fun and easy to make. I love the way they turned out as well.