
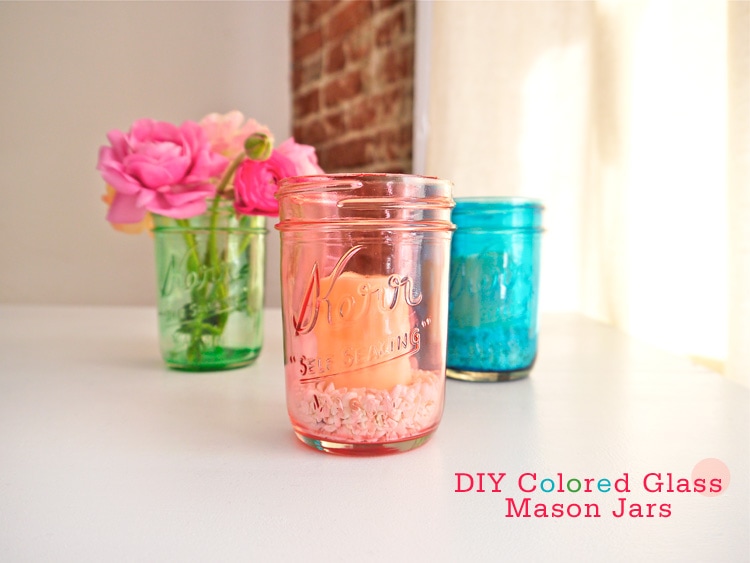
I always seem to have a random assortment of glass mason jars around the house. Between the half eaten jelly jars in the back of my fridge to the numerous lid-less jars I use to hold paper clips and other odds and ends, my house is filled with them. The thing about jars is, I can't stand the thought of getting rid of them! I suppose they could be recycled or donated but instead I hoard them like a squirrel and her nuts. Thank goodness I found a pretty way to re-purpose my old jars. It's DIY time and today is all about Colored Glass Mason Jars. Here's how I did it...
Supplies You Will Need:
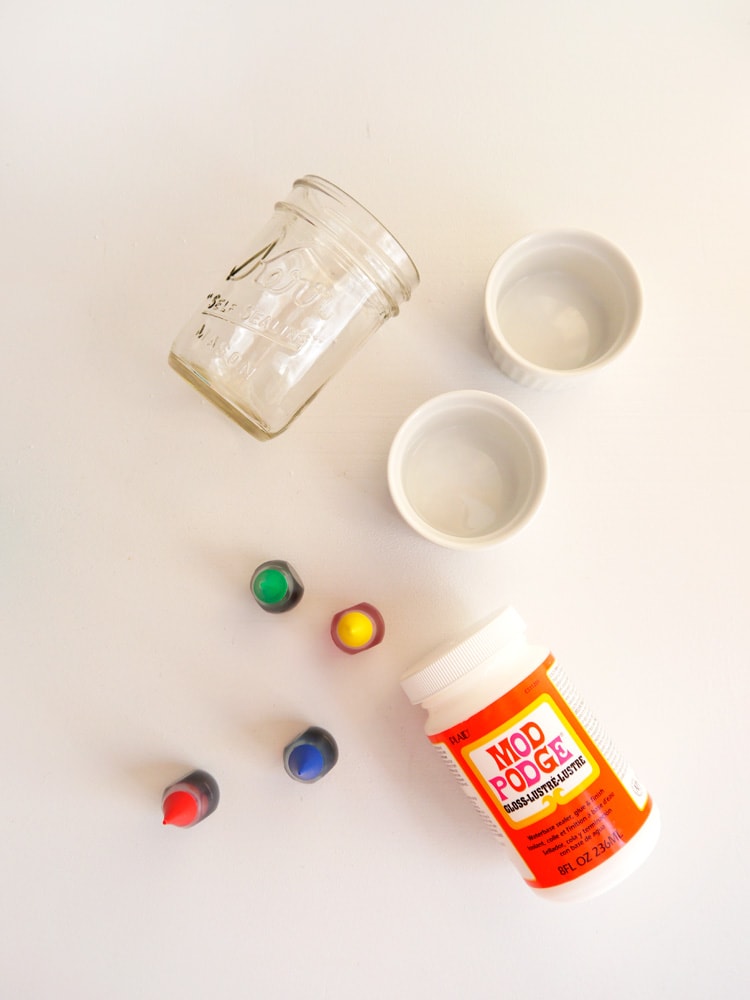
Empty glass mason jars
Ramekins or bowls for mixing
Paper towels
Foil
Mod Podge- Gloss Finish
Liquid food coloring
Stir sticks or small disposable spoons
Cookie sheet
Oven preheated to 225 degrees or "Warm"
 Step 1: Start by lining two baking sheets with foil or wax paper and set aside.
Step 2: In a small bowl or ramekins add: 1 Tablespoon Mod Podge, ½ Tablespoon water, 7-9 drops of food coloring *It's important not to add too much food coloring or the mixture will be too thin and result in streaking. (see purple jar below)
Step 3: Mix colored Mod Podge until smooth and pour into your glass jar.
Step 4: Swirl the Mod Podge around until the entire inside of your jar is covered. Drain excess into a waste bowl to be thrown away later.
Step 5: Carefully wipe the rim of your jar with a paper towel making sure none of the Mod Podge is on the outer lip.
Step 6: Place jar open side down on lined baking sheet to drain for 1 hour.
Step 7: After 1 hour, carefully lift jars, re-wipe the rims and place open side up on second lined baking sheet.
Step 8: Place in a pre-heated oven (225/warm) for 45 minutes or until Mod Podge is completely dry and glass jars are transparent.
Step 9: Remove baking sheet from oven and allow hot jars to cool completely before removing.
Freutcake Note: Now that your jars are colored, they are for decoration only and should not be used for food or drink.
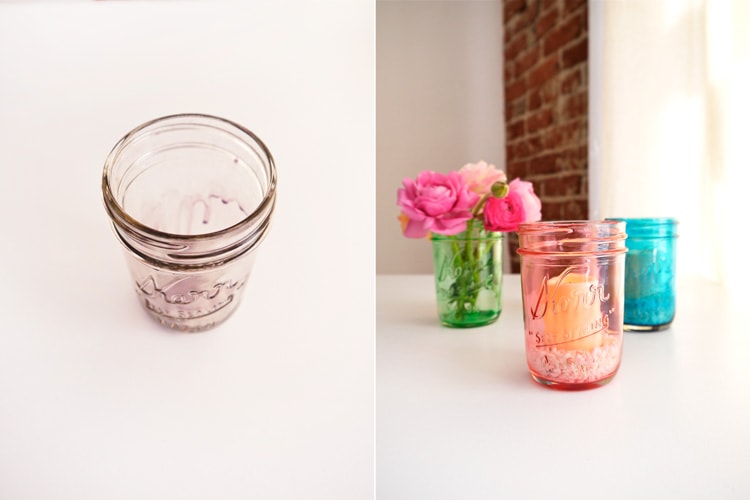
Now for a bit of honesty about this project. It took me (and my trusty side-kick sister) TWO, yes two, rounds of jars and a lot of white wine to get these right. Our first attempt was a streaky messy disaster. The jars were hideous to be quite frank. Lucky for you I think I got the steps down to a pretty exact method that worked beautifully on our second attempt. So follow my steps and ratios above and you should be golden.
How I like to use them:
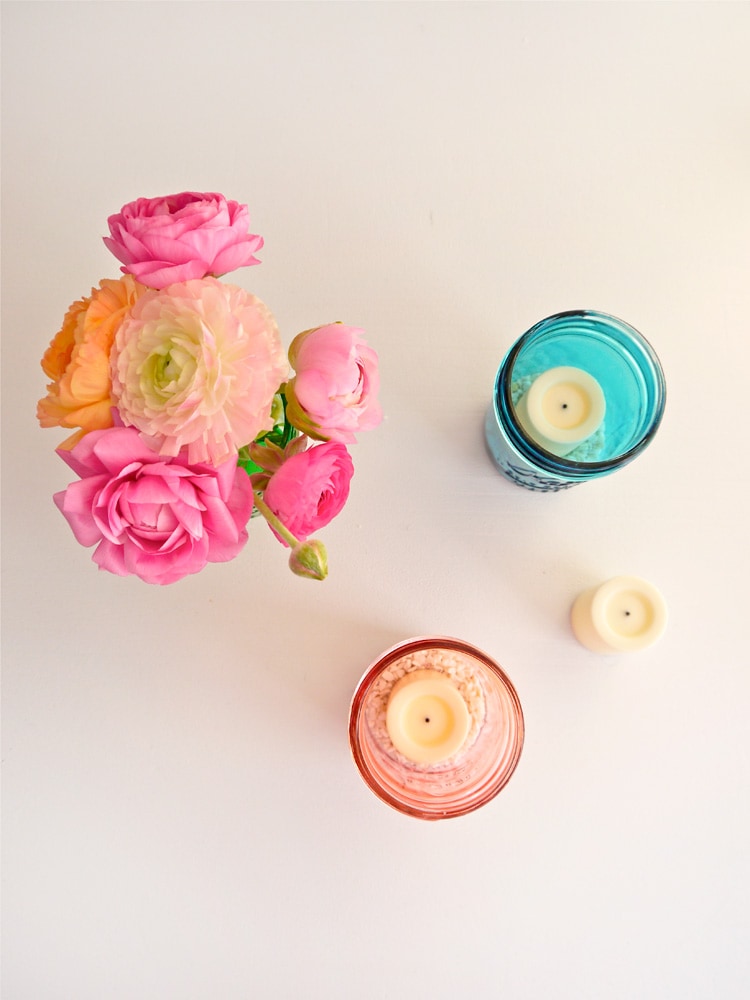
1. Fill partially with sand or crushed shell and insert a battery operated tea light. Perfect for outdoor entertaining! *Not safe to use with traditional candles.
2. Insert a small bud vase of water into colored jar and use as for small flower arrangements. *Mod Podge is not water resistant so a bud vase is necessary.
Today at 12:00 PST, I will be demonstrating how to make these lovely little jars live on the next instalment of Good Housekeeping's Google + Hangout Series. Feel free to tune in and watch my technique live. Or if you miss it, you can always watch the video later on Good Housekeeping's You-Tube Channel.
photos by Leah Bergman
Alyssa says
These came out awesome! I love that they're still transparent–such a pretty project!
aimee stgermain says
Very cute!
Christmaskitty says
I had so much fun making these beautiful jars with you. You always have the most wonderful craft ideas. They turned out amazing, ( on the second attempt of course )
Archana | my SoCal'd life says
These are so pretty! I've been looking for ways to pep up the empty jars stuffed in my cabinets. Thanks for the idea!
jacquelyn | lark&linen says
Well aren't you just the craftiest! SUCH a great idea
Lexi says
I have tons of little mason jars left over from my homemade BBQ sauce - I'll be doing this for sure 🙂
Amanda @ Once Upon a Recipe says
I can't wait to try making these. So pretty!
KS says
Gorgeous DIY Leah, I'll have to try this one for sure!
Ana says
This is such a great idea. And I love that you are hones about the errors. 🙂 Sometimes you are doing a DIY and you are wondering why they don't turn out as on the picture, but what you don't know is that the final picture is their 3rd trial. 🙂
Gaby [The Vault Files] says
Ohh I love this Leah, brilliant!
Courtney says
Such a fun idea Leah, I'm a nanny and my families are making these as Mother's Day gifts. So far they have turned out great!!! Just a side note, they make "outdoor" mod-podge in a gloss finish that will make these jars completely water proof so if they are used as a vase,there is no need for a bud vase. 🙂
Susan says
Courtney, thanks for the tip about "outdoor" mod-podge!!! That was my next question. These are awesome!
Chelsea says
I love that these jars are still relatively transparent Leah! I've seen different versions on Pinterest and this is my favorite. You're so crafty!
xoxo,
Colored Glass mason Jars
Fabiola says
Very cute DIY, just pinned this!
Brittney Baltz says
I'm going to attempt this with clear wine bottles. Would look so pretty in the window. Wish me luck!
Brittney Baltz says
I did attempt this with wine bottles and they turned out awesome. A little tip though....if you use wine bottles make sure you use only 7drops of food coloring or less or you'll have color fall out at the stem of the wine bottles. Thanks for the great technique!
Lauren says
I am in love with these and can't wait to make my mason jars this pretty for summer! Thank you for the great tutorial!
auntlynnieLy says
What if you were to use a gel food coloring, instead of liquid? (like for tinting frosting)
Nancie says
My local hobby/craft store didn't have outdoor Mod
Podge so I bought another brand that was labeled
"water resistant" ( Collage Pauge Glossy Water Resistant
Glue, Sealer and Finish) in hopes of using these lovely jars
as real vases. Although they came out beautiful from
the oven, they did not hold up
to my water test. I filled one with water overnight and the
following morning the jar was cloudy and the color was
drippy as the Collage Pauge was breaking down.
I will be SURE to
try again though when I can find real Outdoor Mod Podge.
In the meantime I will use quality silk flowers in these jars. I
love them anyway! Just trying to save someone from my
mistake.
Danielle says
I have a jar of Liquitex gloss heavy gel medium, but no Mod Podge handy. Can I use that instead? My thought is it would make the jars waterproof...but I want to make sure it's not going to ruin something in the other steps.....Thanks! I'm so excited to start this project!
freutcake says
Hi Danielle, I never tried this project with Liquitex gloss so I am not sure if you will get the same results! I would try one test jar and see how it turns out. Good luck and happy crafting!
Jen PW says
Tried outdoor modgepodge... Finish looked dull/cloudy and was NOT waterproof 🙁
melody G. says
Is it safe to put a candle inside the jar after it has been colored?
freutcake says
I only use electric candles in these jars. I find the small votive sized electric candles at Target and they look great!
jean says
mine came out milky .... ?
Jacqueline says
I'm in the process of making these now and so far they look great! I'm using the outdoor mod podge which says it is non-flammable. Do you think it would be okay to use the jars to make homemade candles in?
Freutcake says
Hi Jacqueline! I am not sure how that will work. I would be concerned about it being flammable or not safe for candles.
Stacie says
I have tried this twice and both times they are streaking. I followed the directions to the tee. Can someone help how I might be able to tweak to get them not to streak
Freutcake says
You may need to heat them a bit longer in the oven. Are you taking them out before they are clear? That may be the problem. Other than that I am not sure why they would be streaked if you are using the exact type of Mod Podge and food coloring and proportions I listed. So sorry it's not working for you!
Memphis Rain says
I cannot wait to make these!! Thank you!
Judy says
Just made purple ones and came out great!! One thing to note, don't freak like I did when the color of your mixed mod podge isn't the color you wanted because once its baked it will be the color of your food coloring. Mine looked baby blue until I baked them and they turned to the perfect purple I wanted. Thanks for the awesome tutorial!!
Tgodshall says
Could you use these for a light fixture? I am renovating my kitchen and would love to make it even prettier 😉
Susan Ray says
Why do use the Mod Podge? Would the jars be ok to do without this item? 🙂
Leah Bergman says
The Mod Podge is necessary as it's the "glue" finish that coats the glass and adheres the food coloring. You can also use the new colored varieties of mod podge.
linda burman says
How about doing the outside of the jar. That way you could put water in them?
Leah Bergman says
Yes, You could definitely try that! I think that getting an even coat may be a bit more challenging but it's worth a try. Also, Mod Podge has a dishwasher safe formula as well as an outdoor formula both of which might work even better if you want to fill these with water.
Jasmine says
Can you use Elmer's glue or only Modge Podge? Would you get tge same results?
Leah Bergman says
No, unfortunately Mod Podge works differently than Elmers glue.
Heather says
What abut tacky glue?
Leah Bergman says
I've never tried it!
Esmeralda Funes says
Is coloring with modge podge the best technique for flower vases.
In terms of water proof, can u put water inside the vase or will it ruin the projct!
Sarah says
My jar came out with runs. It happened in the oven phase :-/ def going to try again though !
Leah Bergman says
You just have to work to get the right consistency. That will help with the runs! Also, since writing this post, Mod Podge came out with a colored Mod Podge just dying jars! It's available at craft stores. I would try that as well.
Jenie says
What is the combination to het the peachy/ pink tinted jar?
Dee Moon says
Do you know of a glass coloring process that is "FDA" approved? I want to color some interesting looking clear glass containers that I have and them do the etching on them. Can't wait to hear from you.
Leah Bergman says
No, unfortunately I do not.
Mike Dux says
I would like to do this with a large jar that is open on both ends. Do you have any tips based on your experience?
Leah Bergman says
I don't think you will have any trouble with an open ended jar. I would just recommend you add in the colored Mod Podge in the middle along the length of the jar and then slowly roll/rotate the jar so that it is evenly coated. Have fun!
devi says
i just let mine dry without putting them in the oven. if i've achieved the color i wanted - do i need to still heat them for any reason? just wondering. trying to make 150+ for centerpieces and would love to save this step and time if there is no added benefit. thanks for any help
Kristen says
I want to do this to make soap dispenser jars. I see that it was mentioned that the Mod Podge is not resistant to water... Do you know if this is the same for soap?
alex says
If you get unevenness is there a way to fix it??mts
Carolyn Bivens says
This is a great project! Ive looked everywhere 2 find how to get the pink color. What combination of food coloring did u use for the pink colored jar? Thank u 4 the project!
Susan E Bittner says
I'm going to need about 100 of these for an event. How many jars will the quantities in this recipe do? How many should I bake at a time? Should I increase the time in the oven because there will be more than one? Can I use the leftover after swirling it to coat the inside of the jar or do I have to throw it away? Thank you! These are very pretty!