
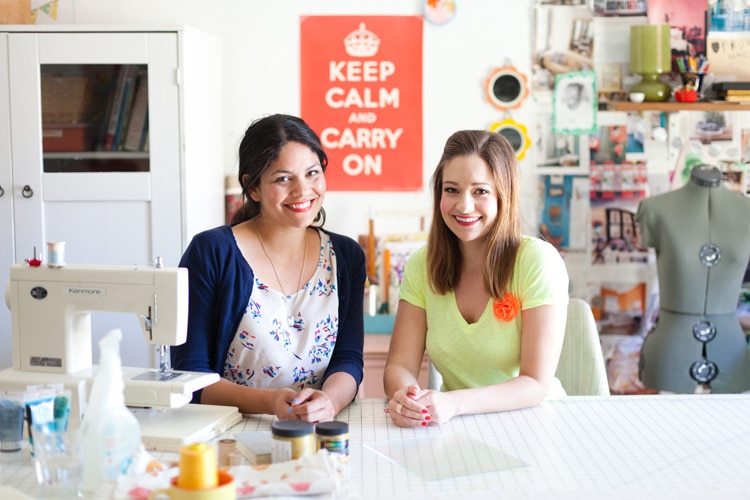
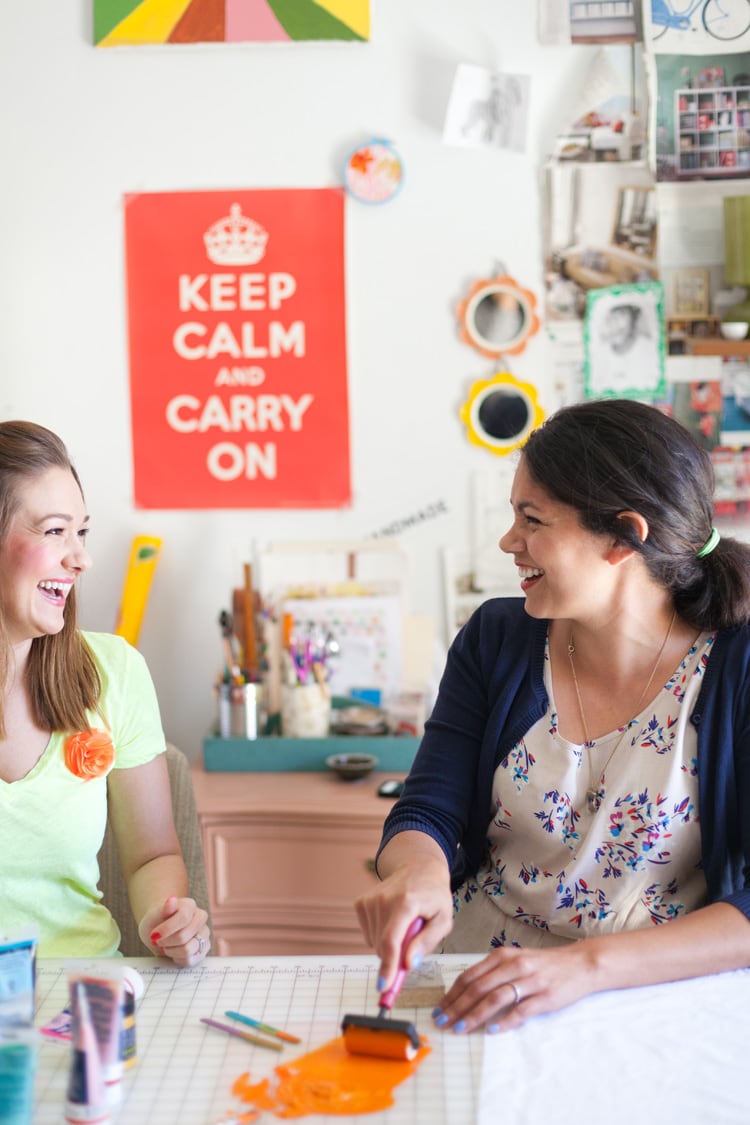
Last week I spent an afternoon at my friend Alisa's house attempting to learn the art of Wood Block Printing. Turns out it's fun, relaxing, and relatively easy if you don't mind the unexpected. Alisa is not only my personal friend but the very talented lady behind the Etsy shop Cute Bright Things where she sells handmade home goods including beautiful block printed items. She is such a talented, creative, and sweet lady that I am thrilled to introduce her work to all of you.
Thank you Alisa for opening up your (amazing) craft room, sharing your block printing skills with us, and patiently teaching me your craft! Also, Alisa is offering Freutcake readers 20% off everything in her Etsy shop today with the discount code: FREUTCAKE. But before you run off to shop her store, continue reading for how to make your own DIY Wood Block Printed Napkins...
Supplies:
Cotton or linen napkins - washed and dried
Linoleum Printing Blocks for carving - source
Carving tools - source
Brayer - source
Glass palette
Block printing ink such as Speedball - source
Iron
Step 1: Thinking in Negative Space
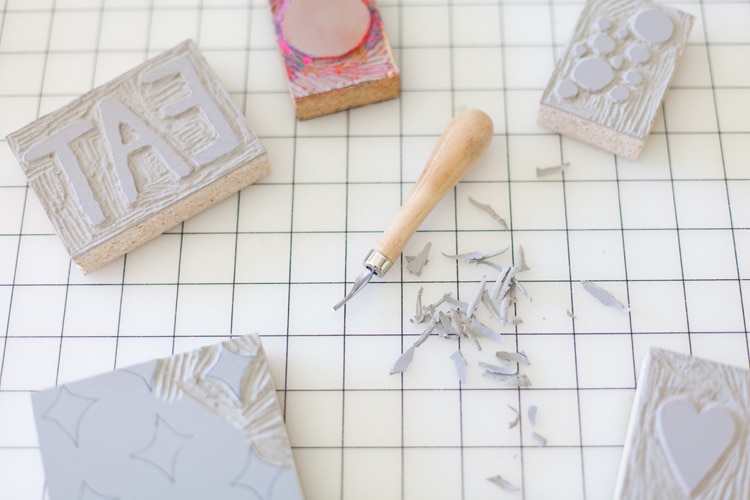
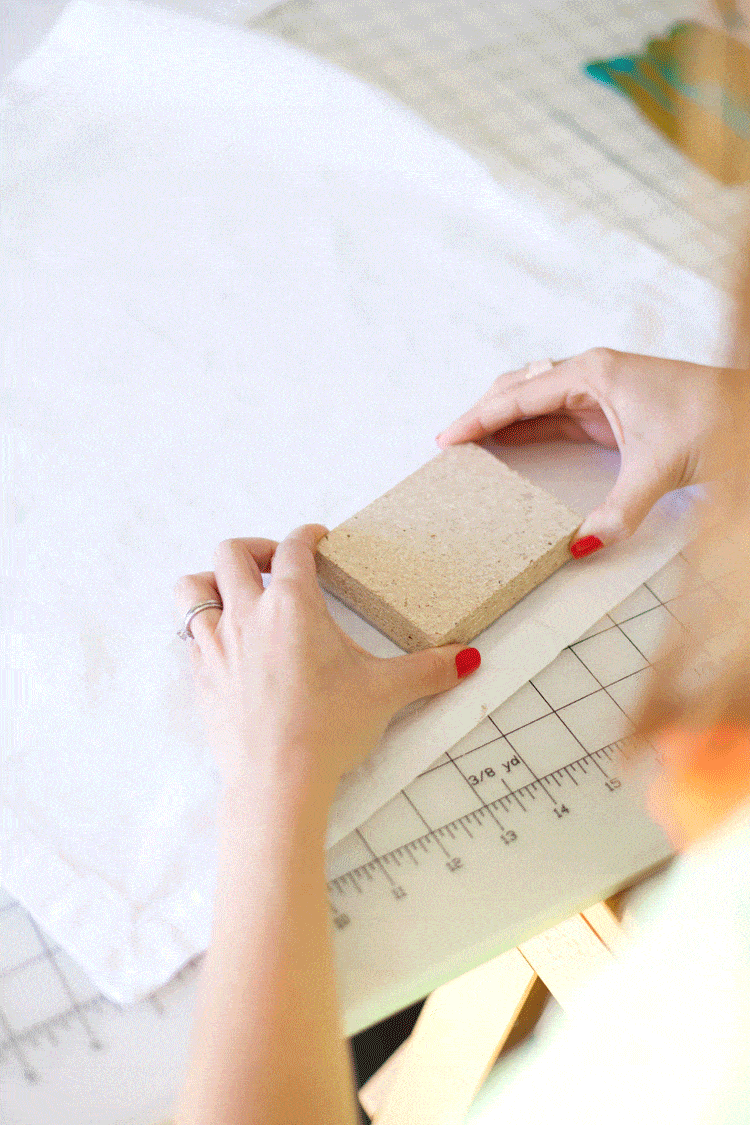
It's time to get creative! Decide what pattern, shape, or word you would like to print on your napkins. Next, draw your design onto the soft linoleum side of the wood block and using your carving tool, carefully scoop away the negative space. What you are left with is the shape you will be stamping. Note: If you are printing a word, make sure it is backwards on the stamp! (see "EAT" above for an example)
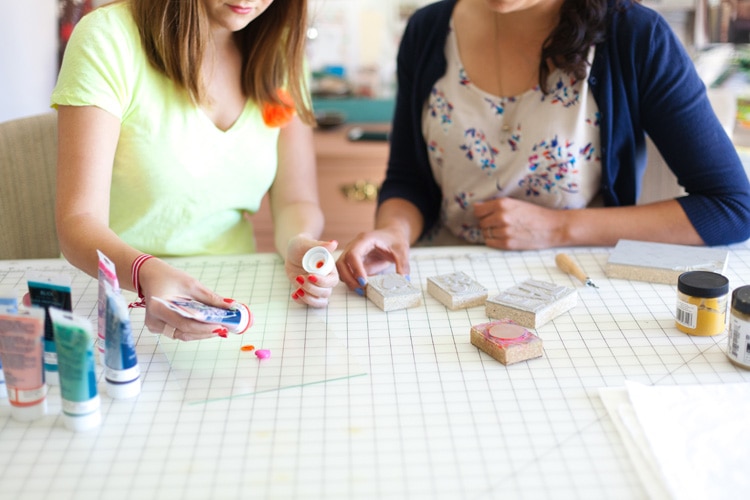
Step 2: Decide what color you would like to print with and squeeze out small amounts of ink onto your palette.
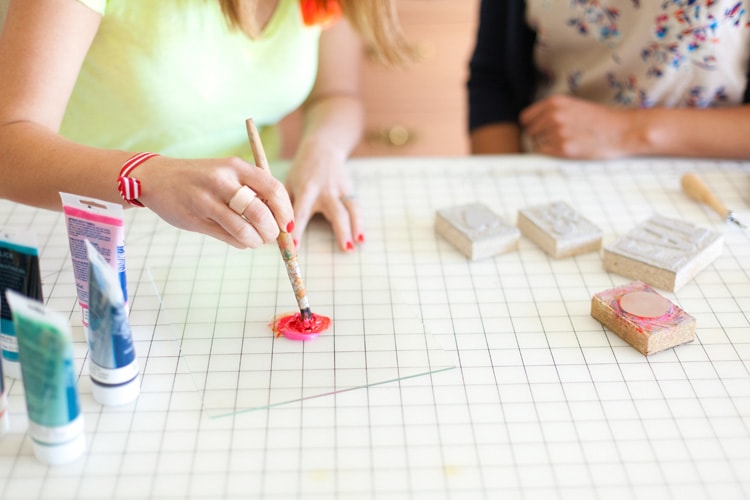
Step 3: If you are mixing inks to achieve a custom color, mix with a paintbrush. We mixed red and hot pink to create a brighter red for my heart print napkins.
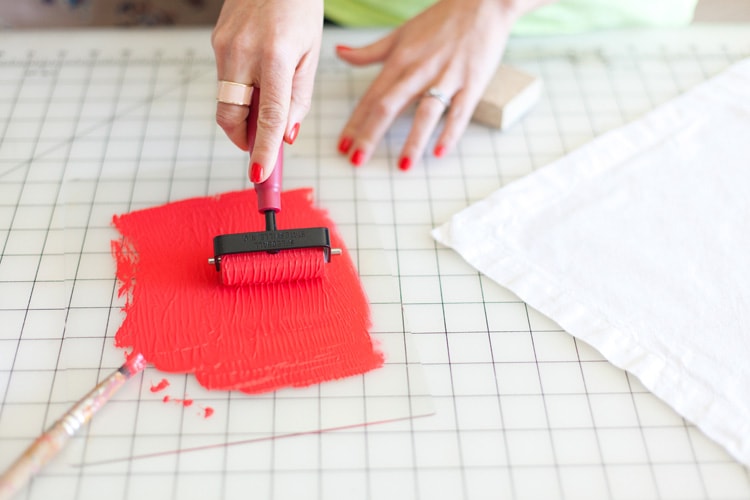
Step 4: Using a brayer, roll ink out evenly over your glass palette. The point is to fully coat the brayer evenly with ink.
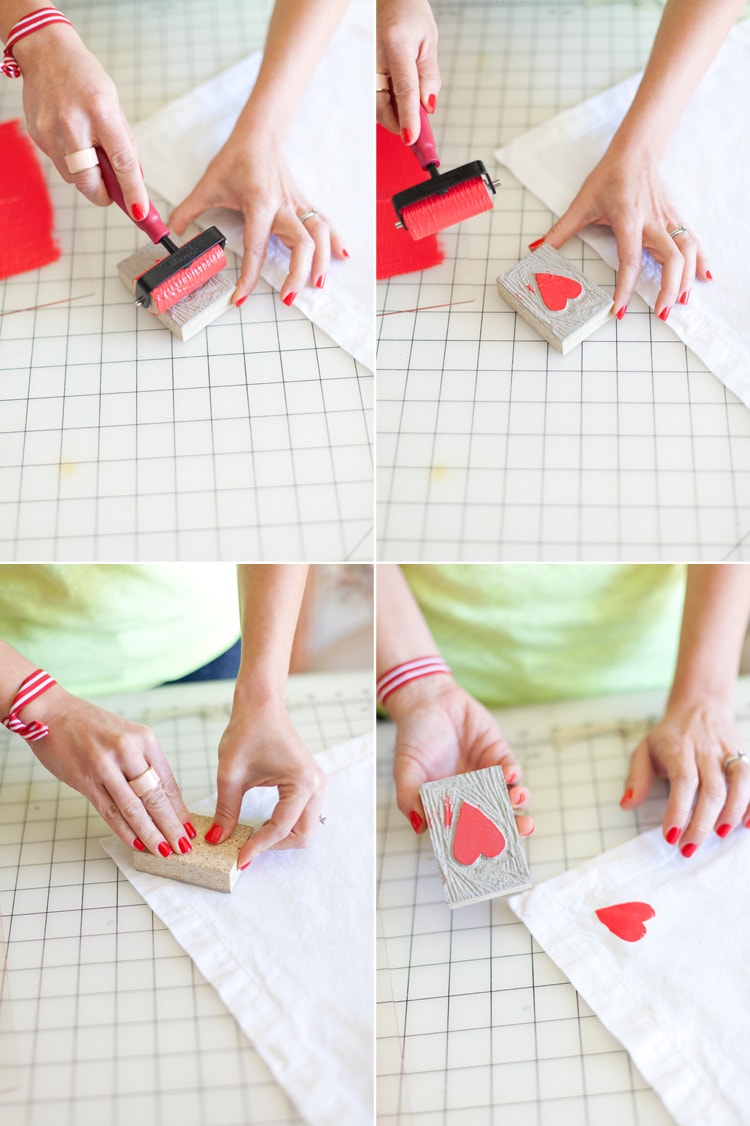
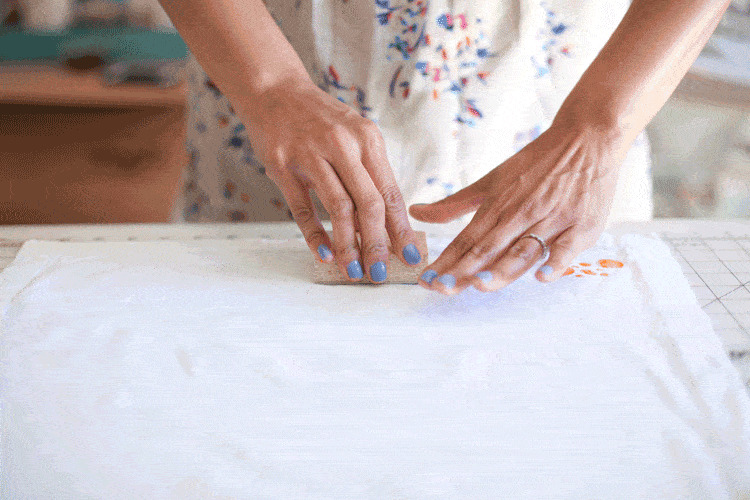
Step 5: Roll your ink covered brayer evenly over your wood block making sure that the stamp portion is thickly covered with ink. Note: Try this a few times first on a scrap piece of fabric before printing on your napkins. This way if you need to adjust your carving, ink color, or just work on your brayer rolling technique you can do so!
Step 6: Repeat! Each time you print, start by rolling brayer in the ink and over your wood block stamp.
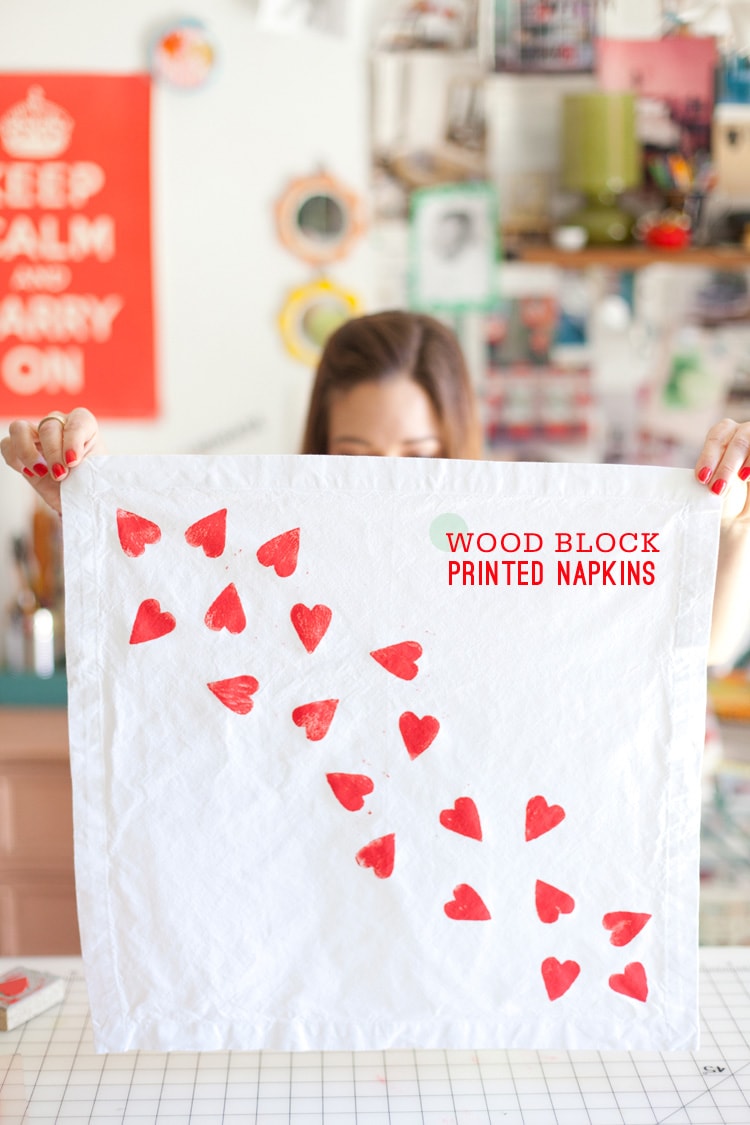
Alisa's orange bubble bordered napkins were so whimsical!
My teal blue and gold "Eat" napkins turned out to be unexpectedly camo print! It was quite the sensation let me tell you. Somehow I can picture these being used in a military mess hall.
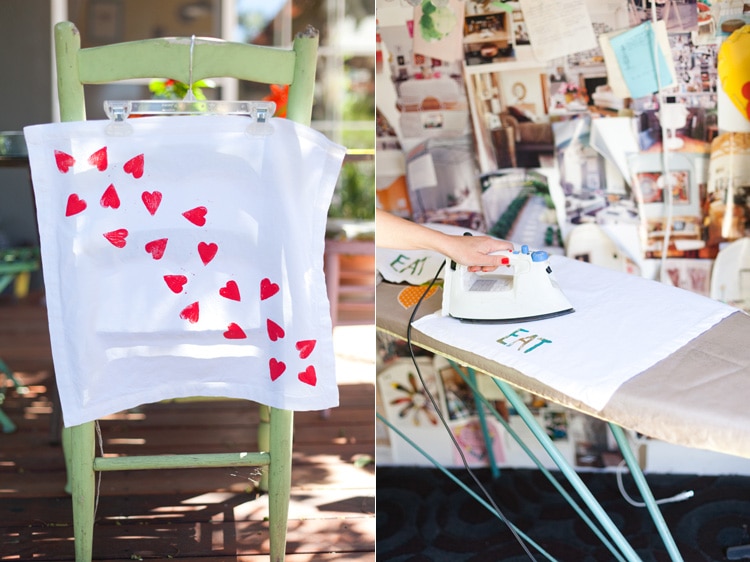
Step 7: Allow printed napkins to dry completely for 4-5 days to make sure that ink has fully saturated the fabric. This will result in a brighter ink color after washing.
Step 8: After ink is completely dry, iron both sides of the napkin focusing on the printed areas. Machine wash cold, low dryer or air dry only.
Have you ever tried wood block printing? I hope you will try this DIY at home and let me know how your napkins turn out!
Photography: Joanne Pio
Guest: Alisa Curiel of Cute Bright Things
P.S. Don't forget to check out Alisa's store and use discount code: FREUTCAKE to receive 20% off of your purchase. Thank you Alisa!
christin says
i love the hearts! her shop is so cute, i can't even stand it.
Luxe and Lace Blog says
Love the action shots on this one, Leah!
Chelsea says
What a cool afternoon project Leah!
Alyssa Longobucco says
How cute are these?! I'd love to do a project like this–I remember carving things like that in elementary school!
Megan @ Pink O'Clock says
These are so awesome, Leah! And they'd make such a great housewarming gift.
kelsey says
very pretty! thanks for sharing!
kw ladies in navy
Christmaskitty says
How fun!!! I want to do this on a tablecloth
Cassidy says
Such a fun idea for sprucing up solid napkins. Thanks for sharing!
Brandee says
So cute! What kind of paint did you use?
Sharna says
So fun! I found you through Instagram; i love your blog, and your photos are so clean and fresh!
kamrencita says
i can't wait to take on this project! in desperate need of a creative outlet.