
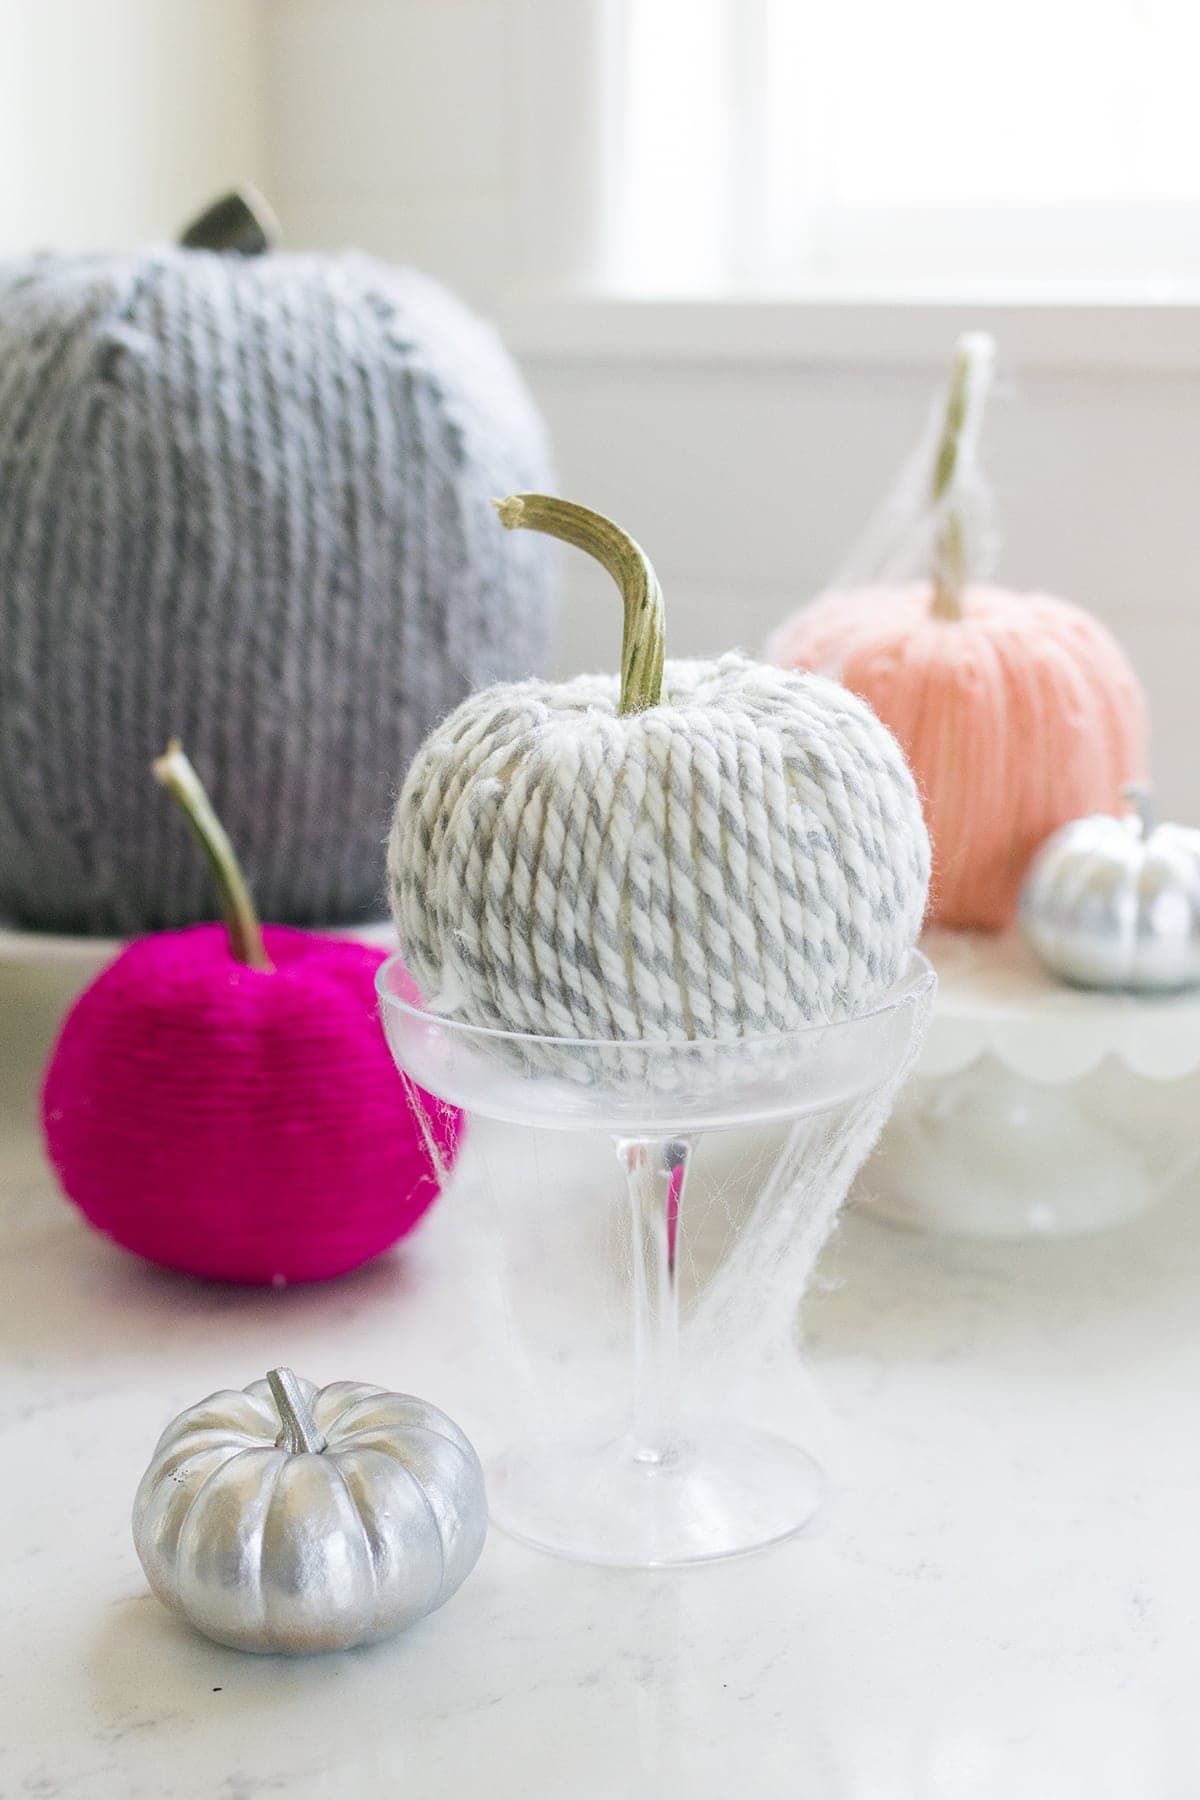
Fall has arrived and with it, pumpkins! For the last few years now I've ditched my carving tools for more un-traditional decorating supplies. I've painted and glittered my pumpkins and this year I'm covering them in yarn. Yes, yarn-covered pumpkins are so granny-chic I just love them!
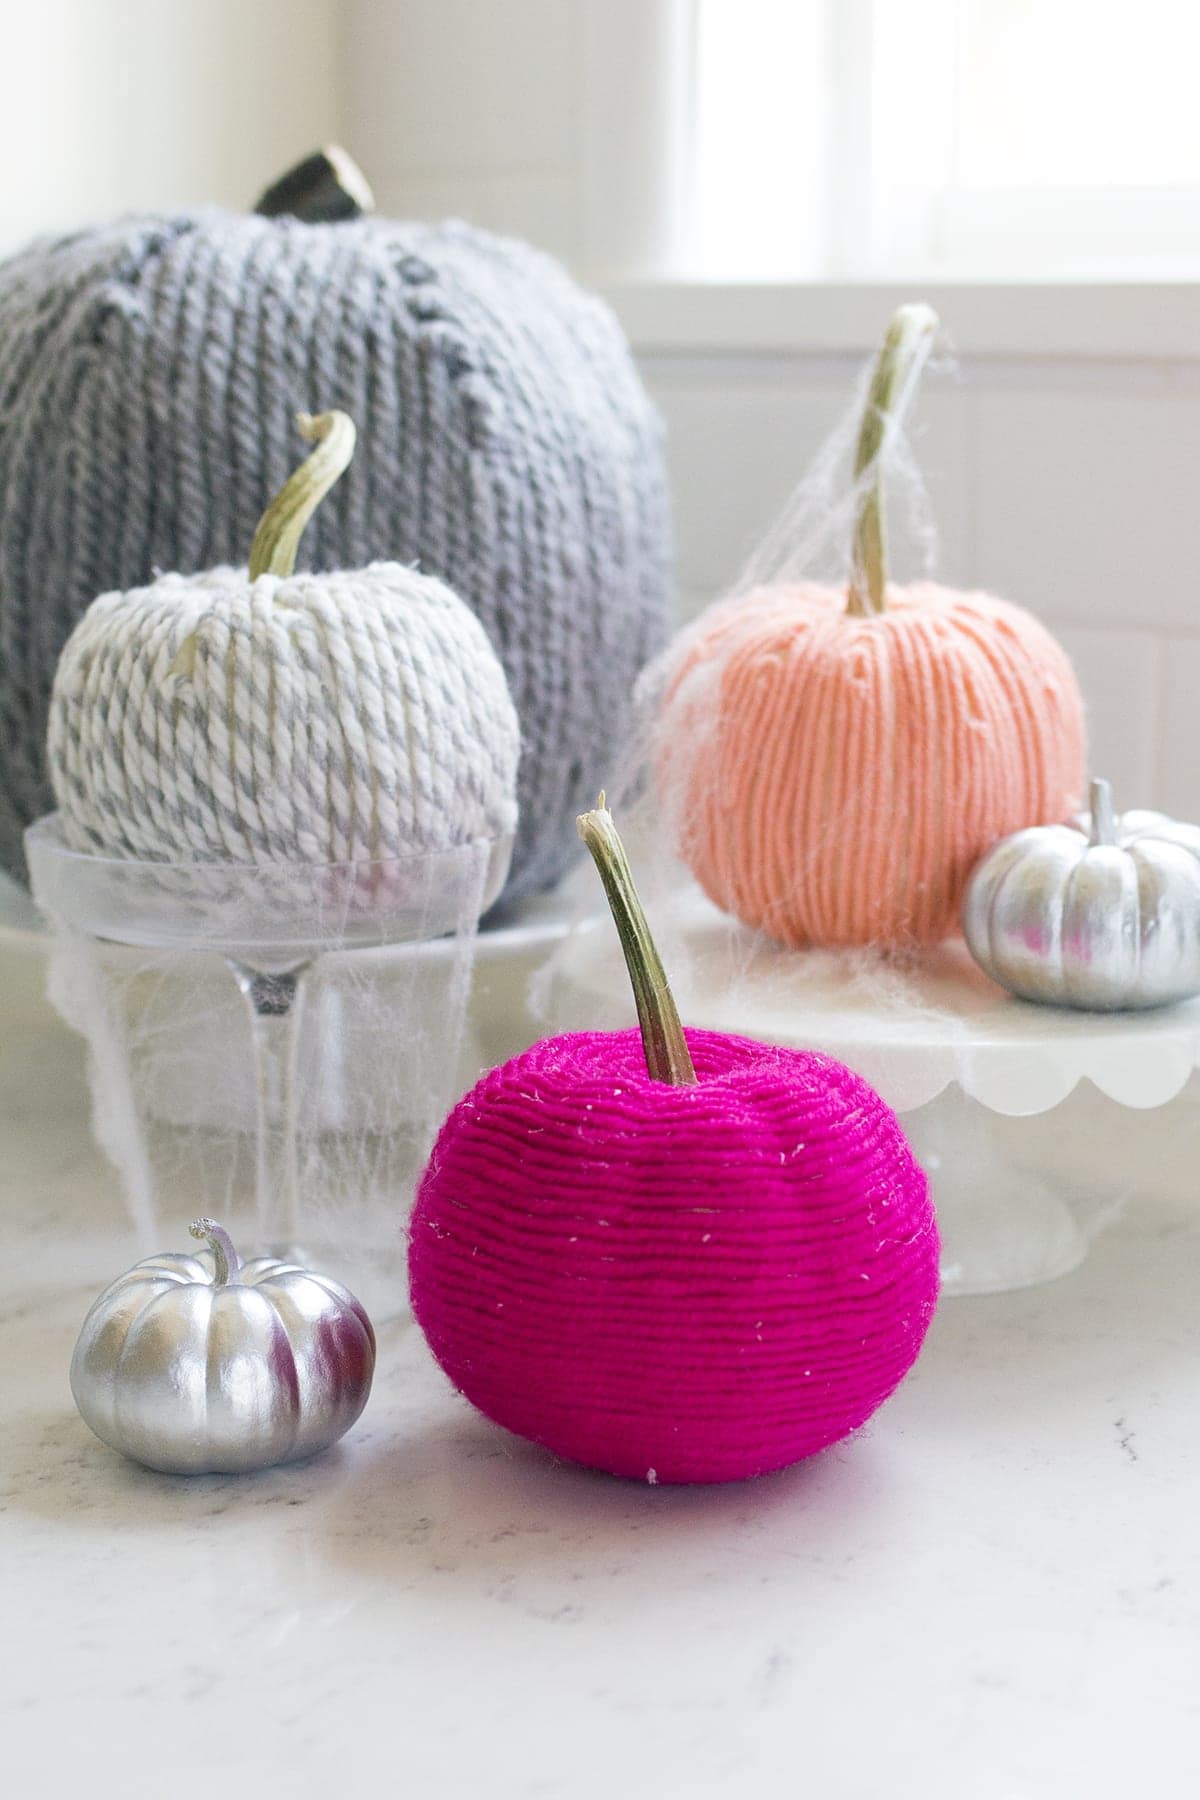
All you need is yarn, hot glue, and either real or faux pumpkins to make these cozy little gourds. I chose un-traditional yarn colors but you could of course use black and orange yarn for Halloween! I bet an all-black, yarn covered pumpkin, would be very chic! Here's how to make them...
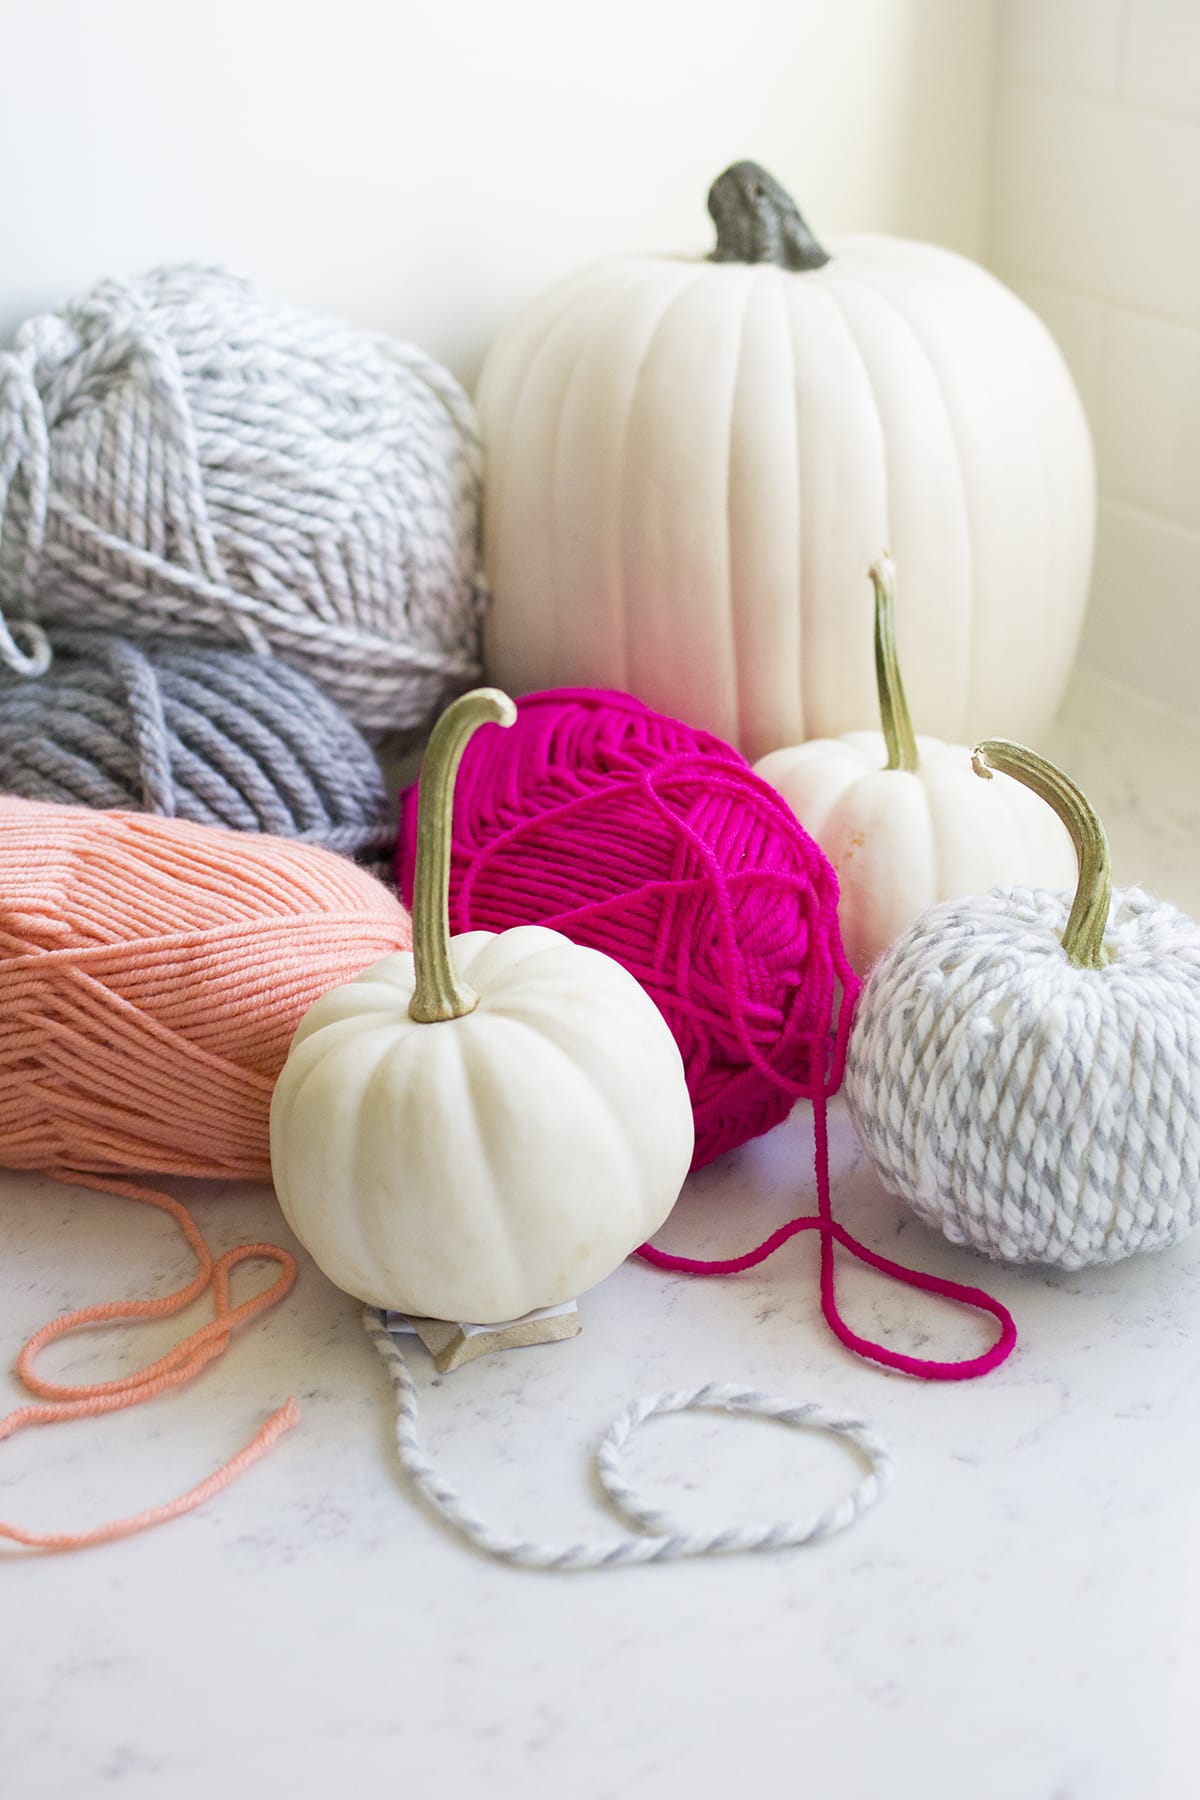
You will need:
Yarn, in various colors
hot glue
hot glue gun
scissors
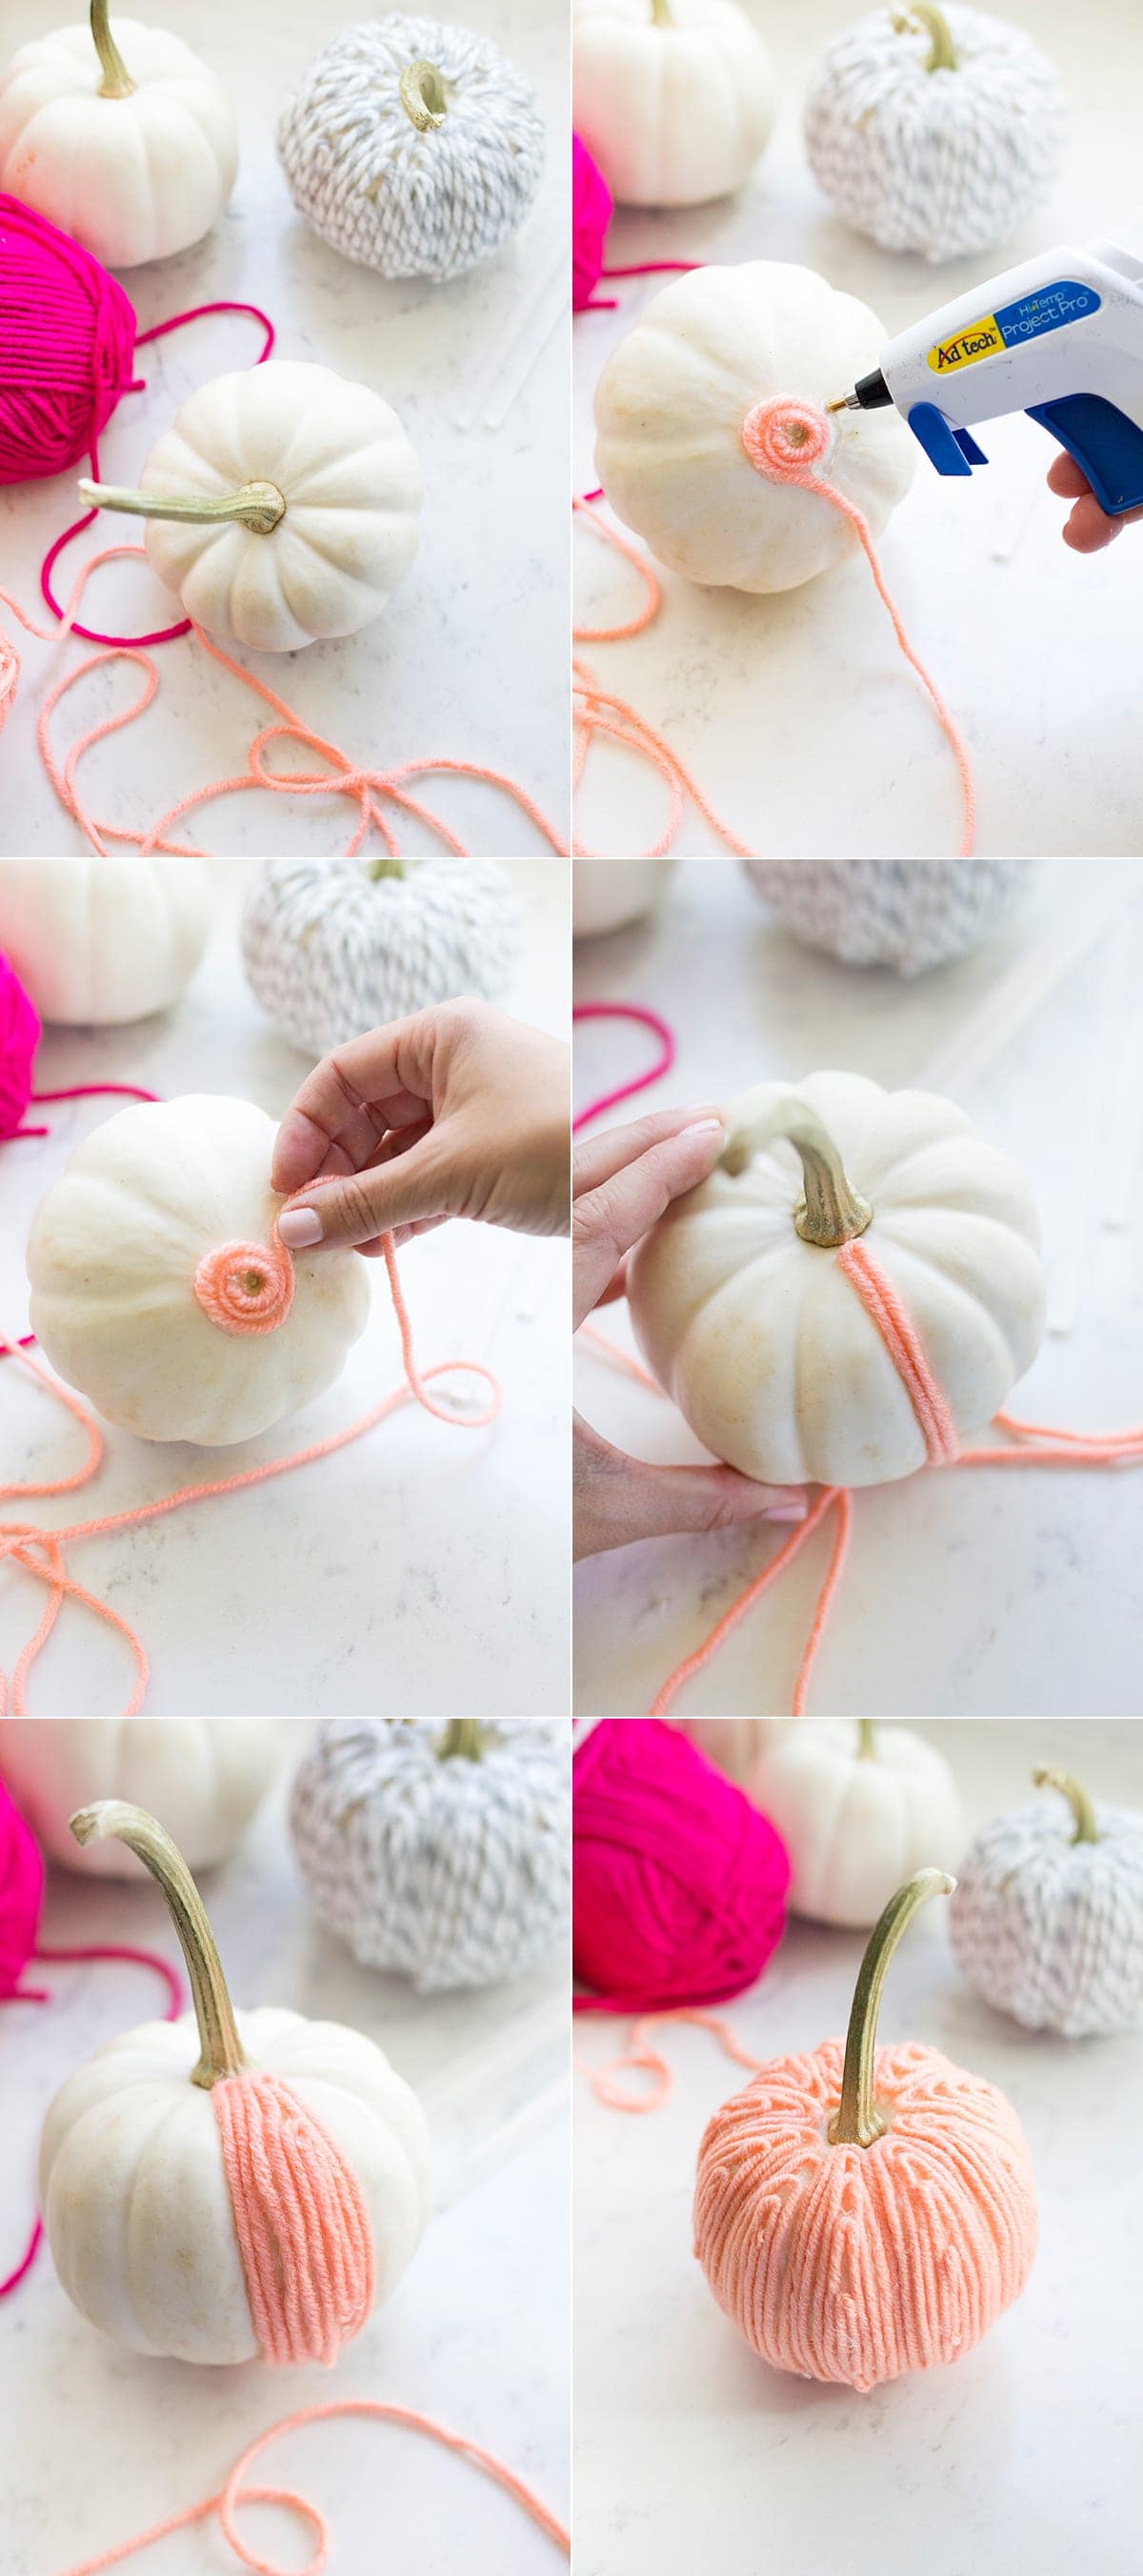 Step 1: Starting at the bottom of your pumpkin, apply a generous amount of hot glue in a circle and begin winding the yarn around.
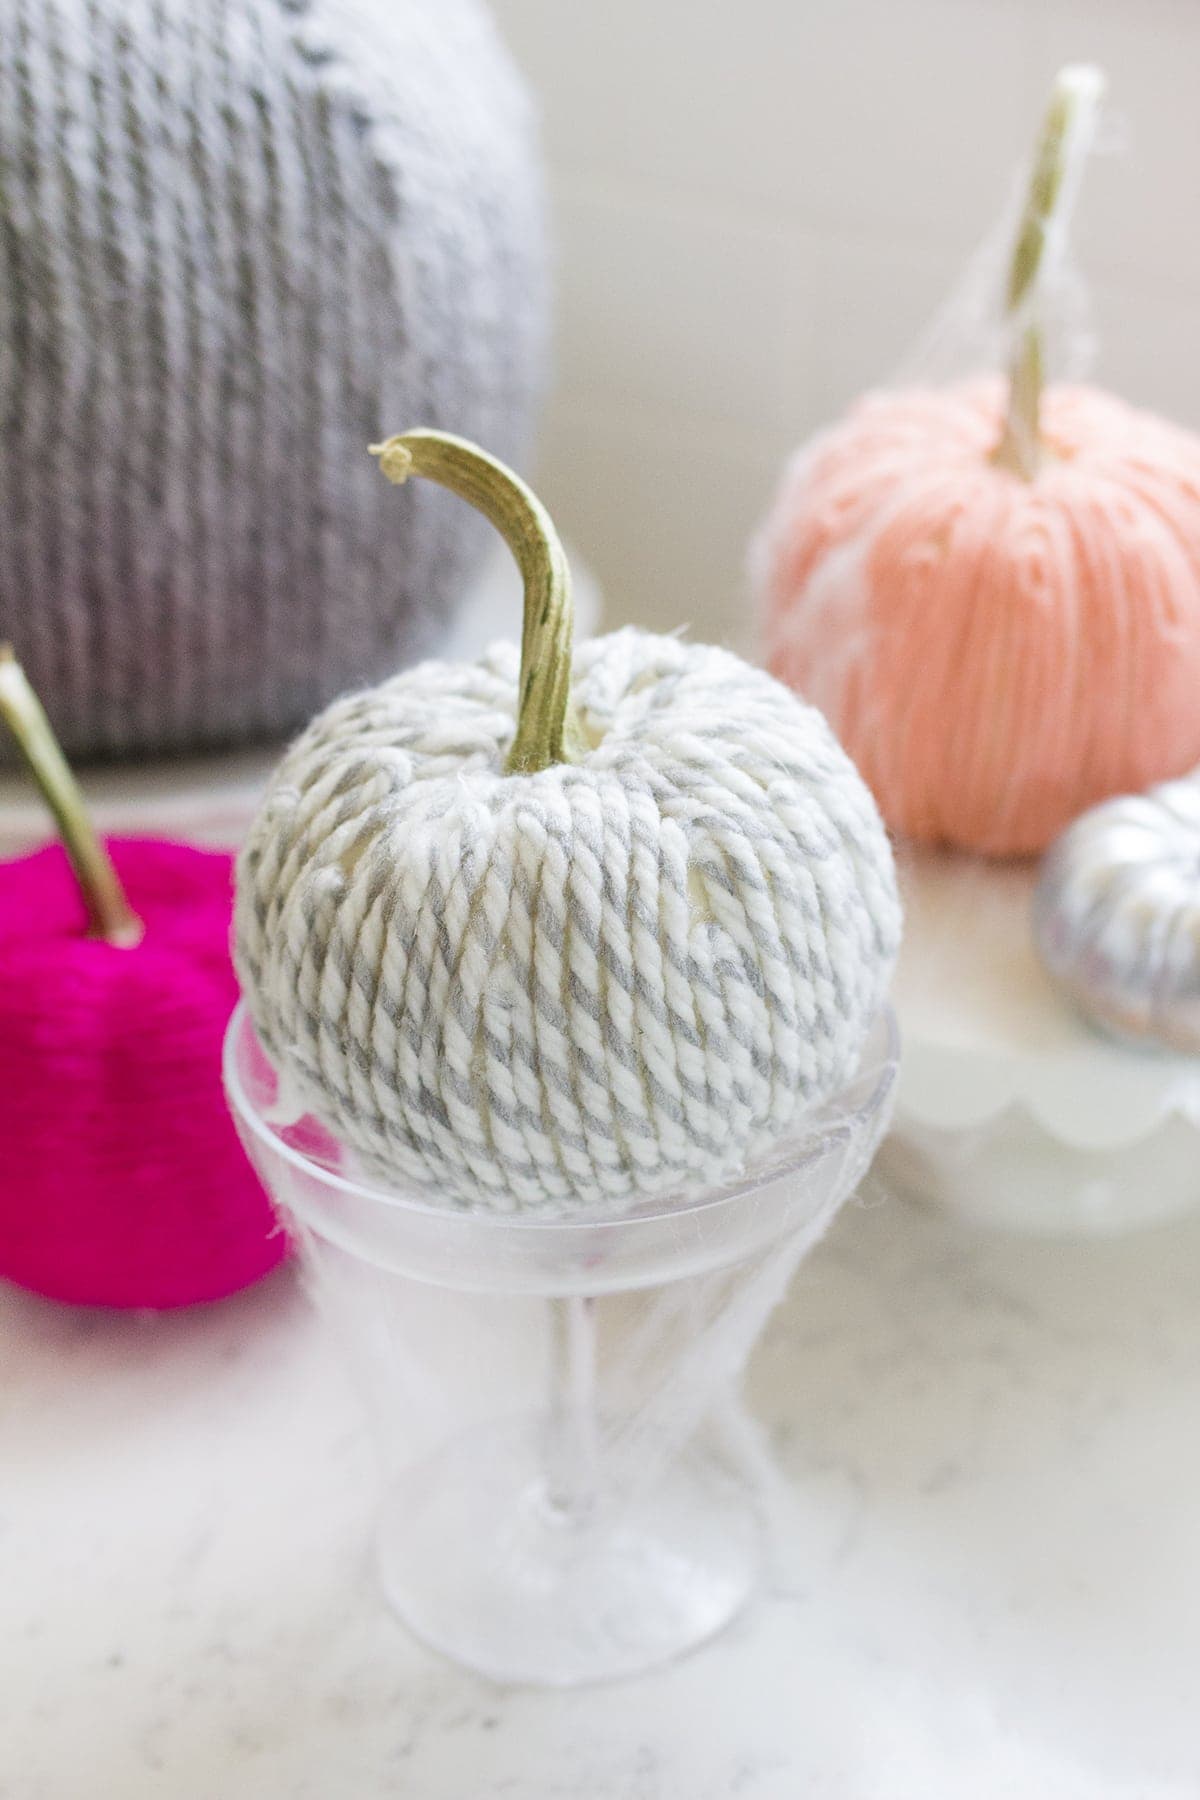
Step 2: Once you have created a small "base" begin either working your way up the pumpkin in vertical rows (show here) or in one giant spiral (see the hot pink pumpkin for reference.)
Step 3: Apply hot glue in dots or strips up the pumpkin and follow with yarn. Loop the yarn when you reach the stem and work your way back down towards the base.
Step 4. Work in sections cutting off the yard and starting a new section every so often. I worked in spirals.
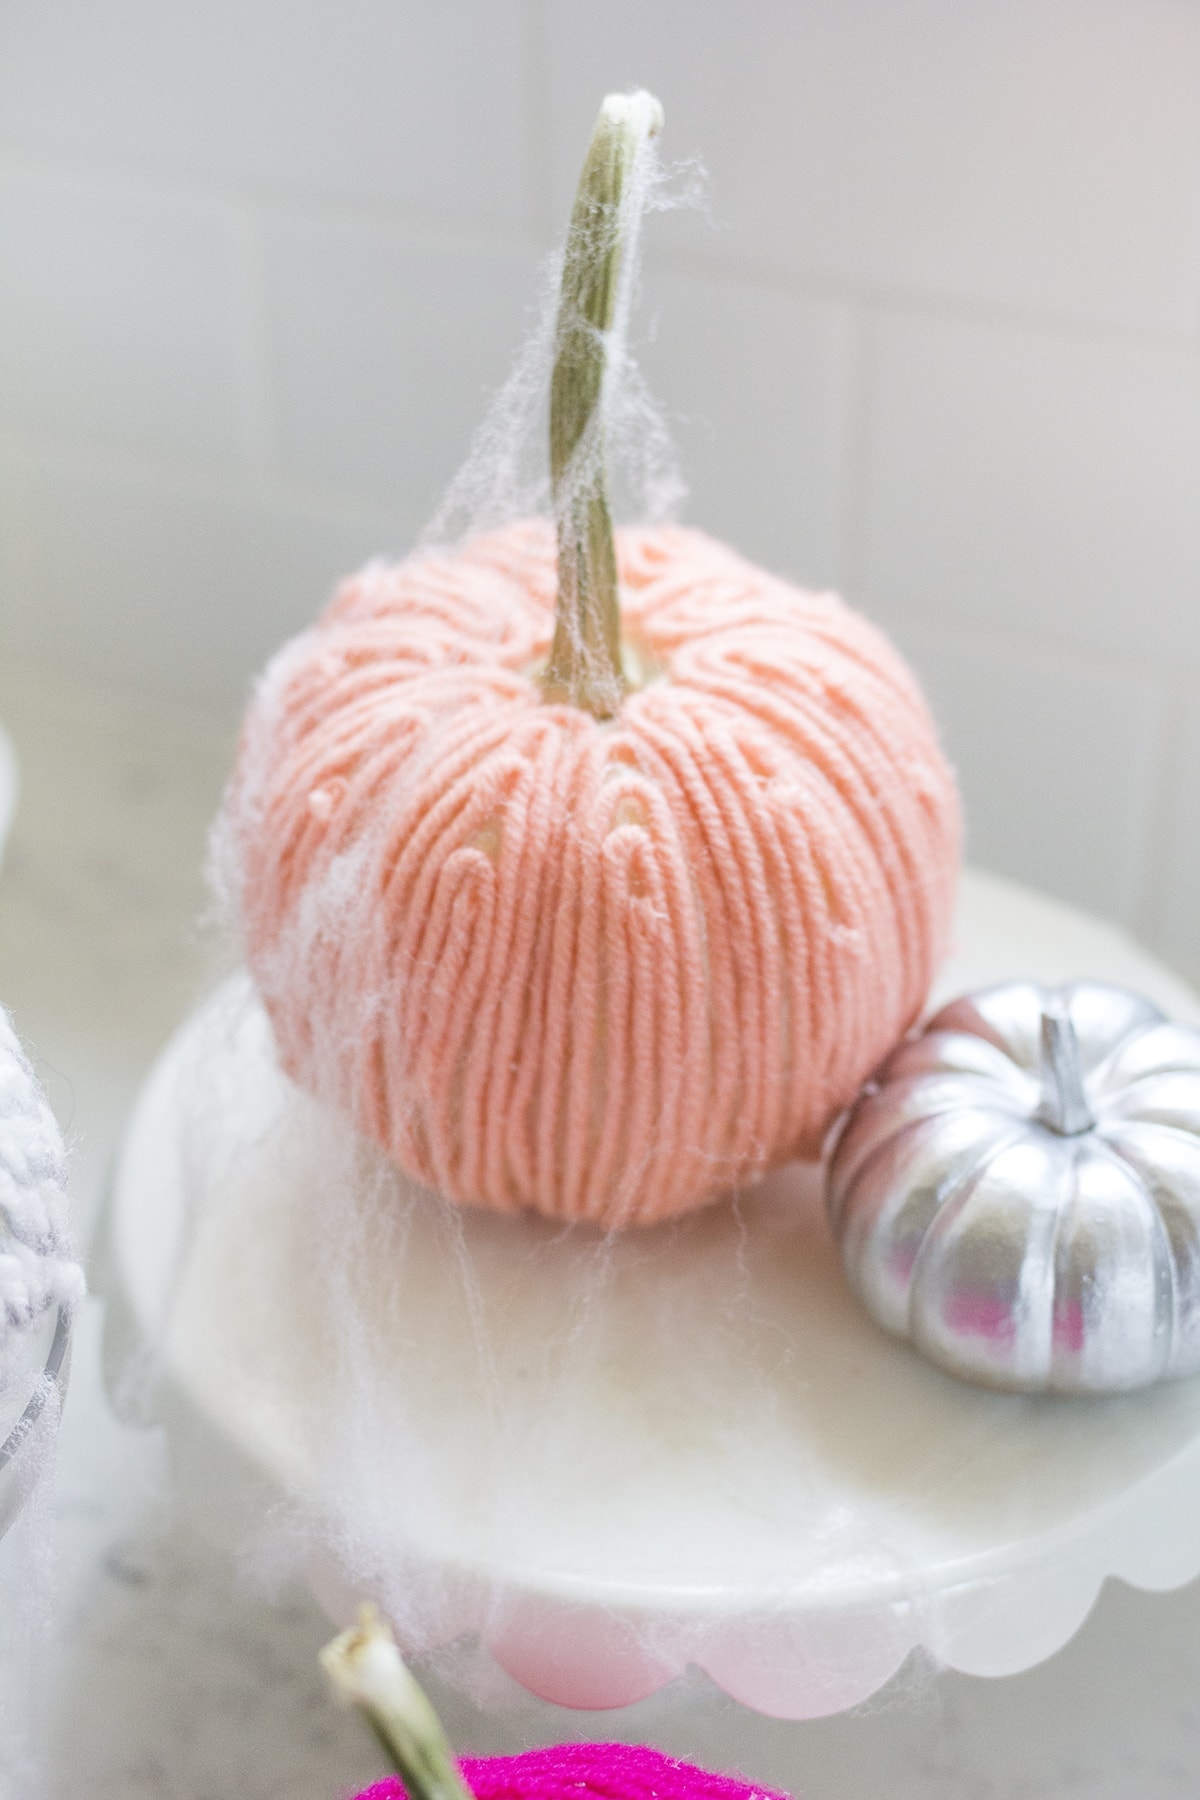
I covered my pumpkins in spider webs and displayed them on various cake pedestals, what a fright! Minus the cobwebs, these yarn covered pumpkins aren't just for Halloween. They make cozy fall decor all season long! So, how do you plan to decorate, or carve your pumpkins this year?
photos by Leah Bergman

Lane says
Cute! such a great way to set up yarn remnants. I have plenty of that lying around.
Gardenias and Mint says
So so so cute! What fun!
xo christa | http://www.gardeniasandmint.com