



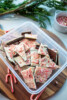




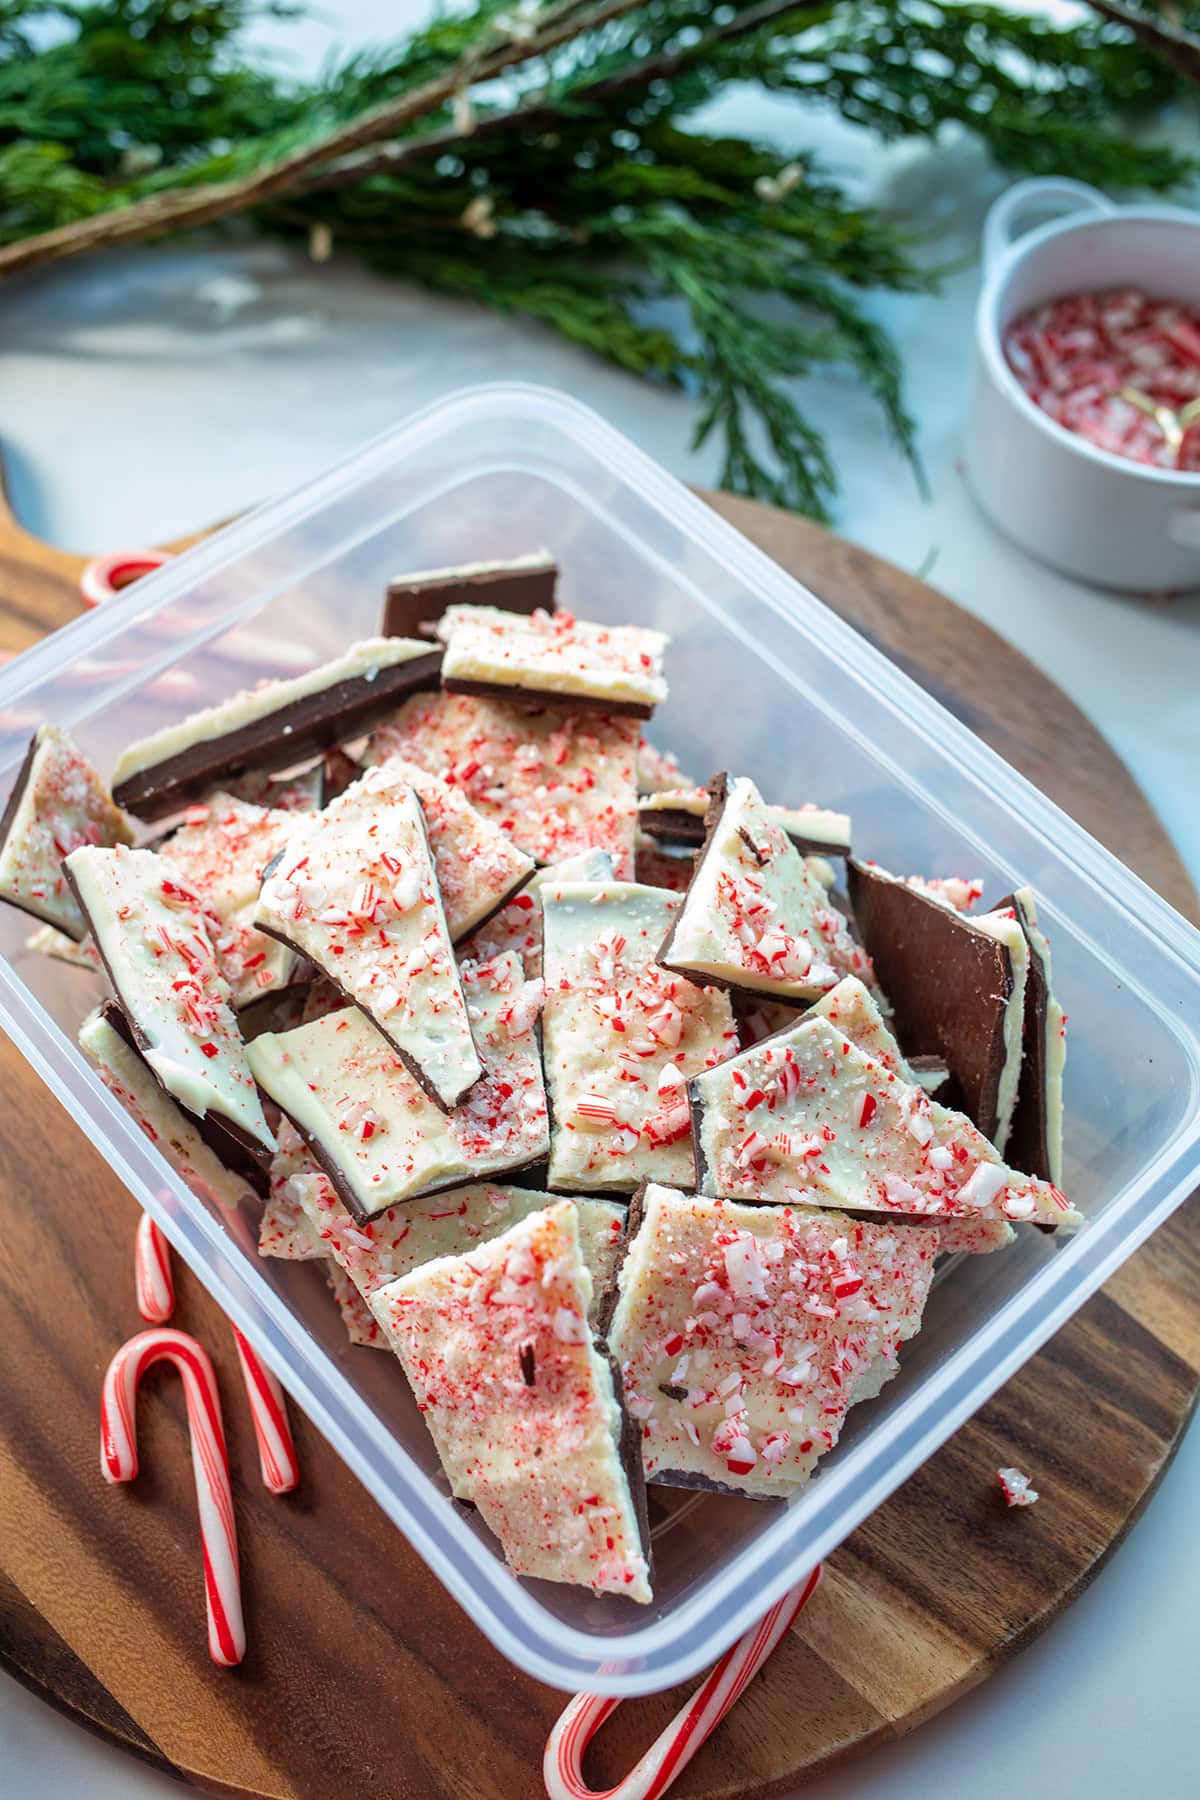
Homemade Peppermint Bark with layers of semi-sweet and white chocolate, peppermint in every bite, and crushed candy canes on top. This easy, no-bake Christmas candy makes a whole sheet pan for sharing, filling holiday tins, and gifting to someone you love.
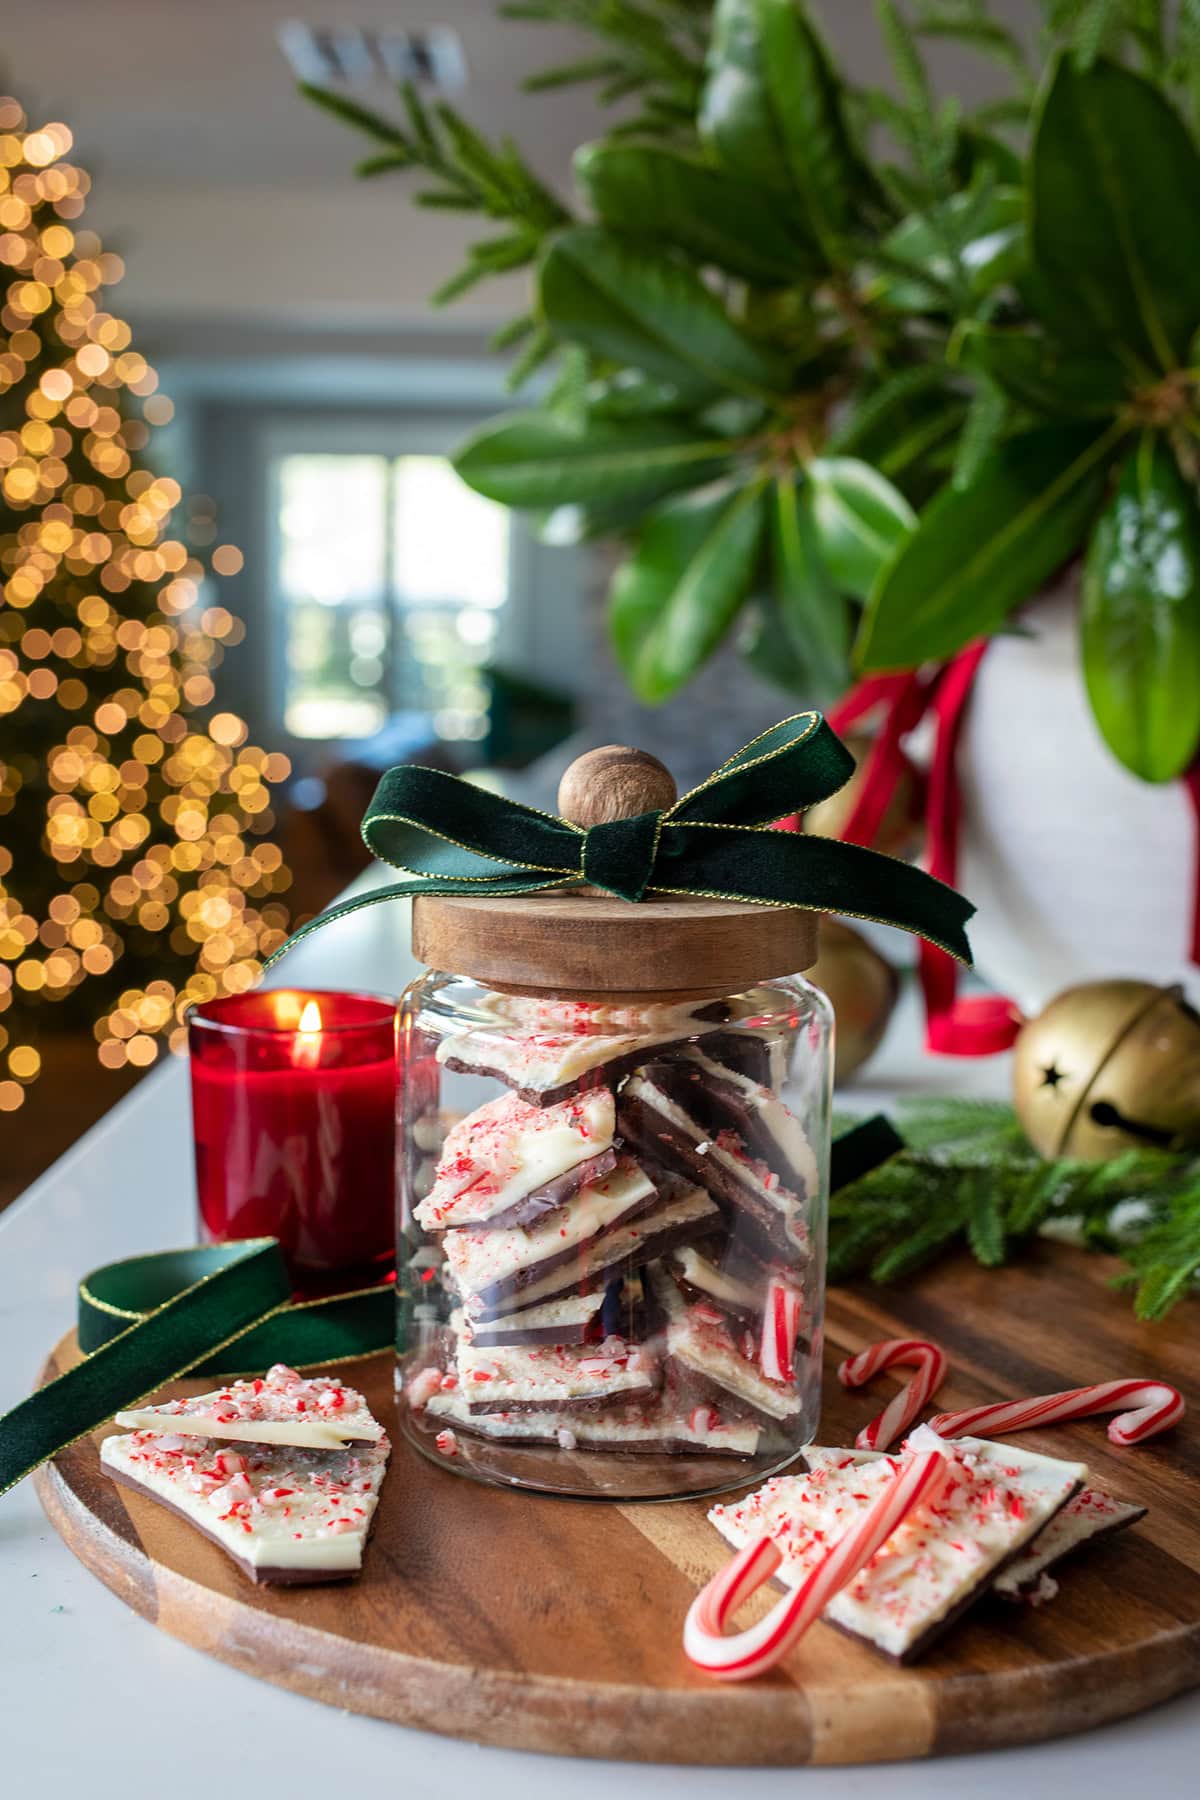
Homemade Peppermint Bark
My family crushes peppermint bark by the pound, so this one had to be part of Made Every Christmas! It's my series of homemade treat recipes worth gifting, passing down, and making every single year. We're testing out our Grandma recipes now, and this is a strong contender.
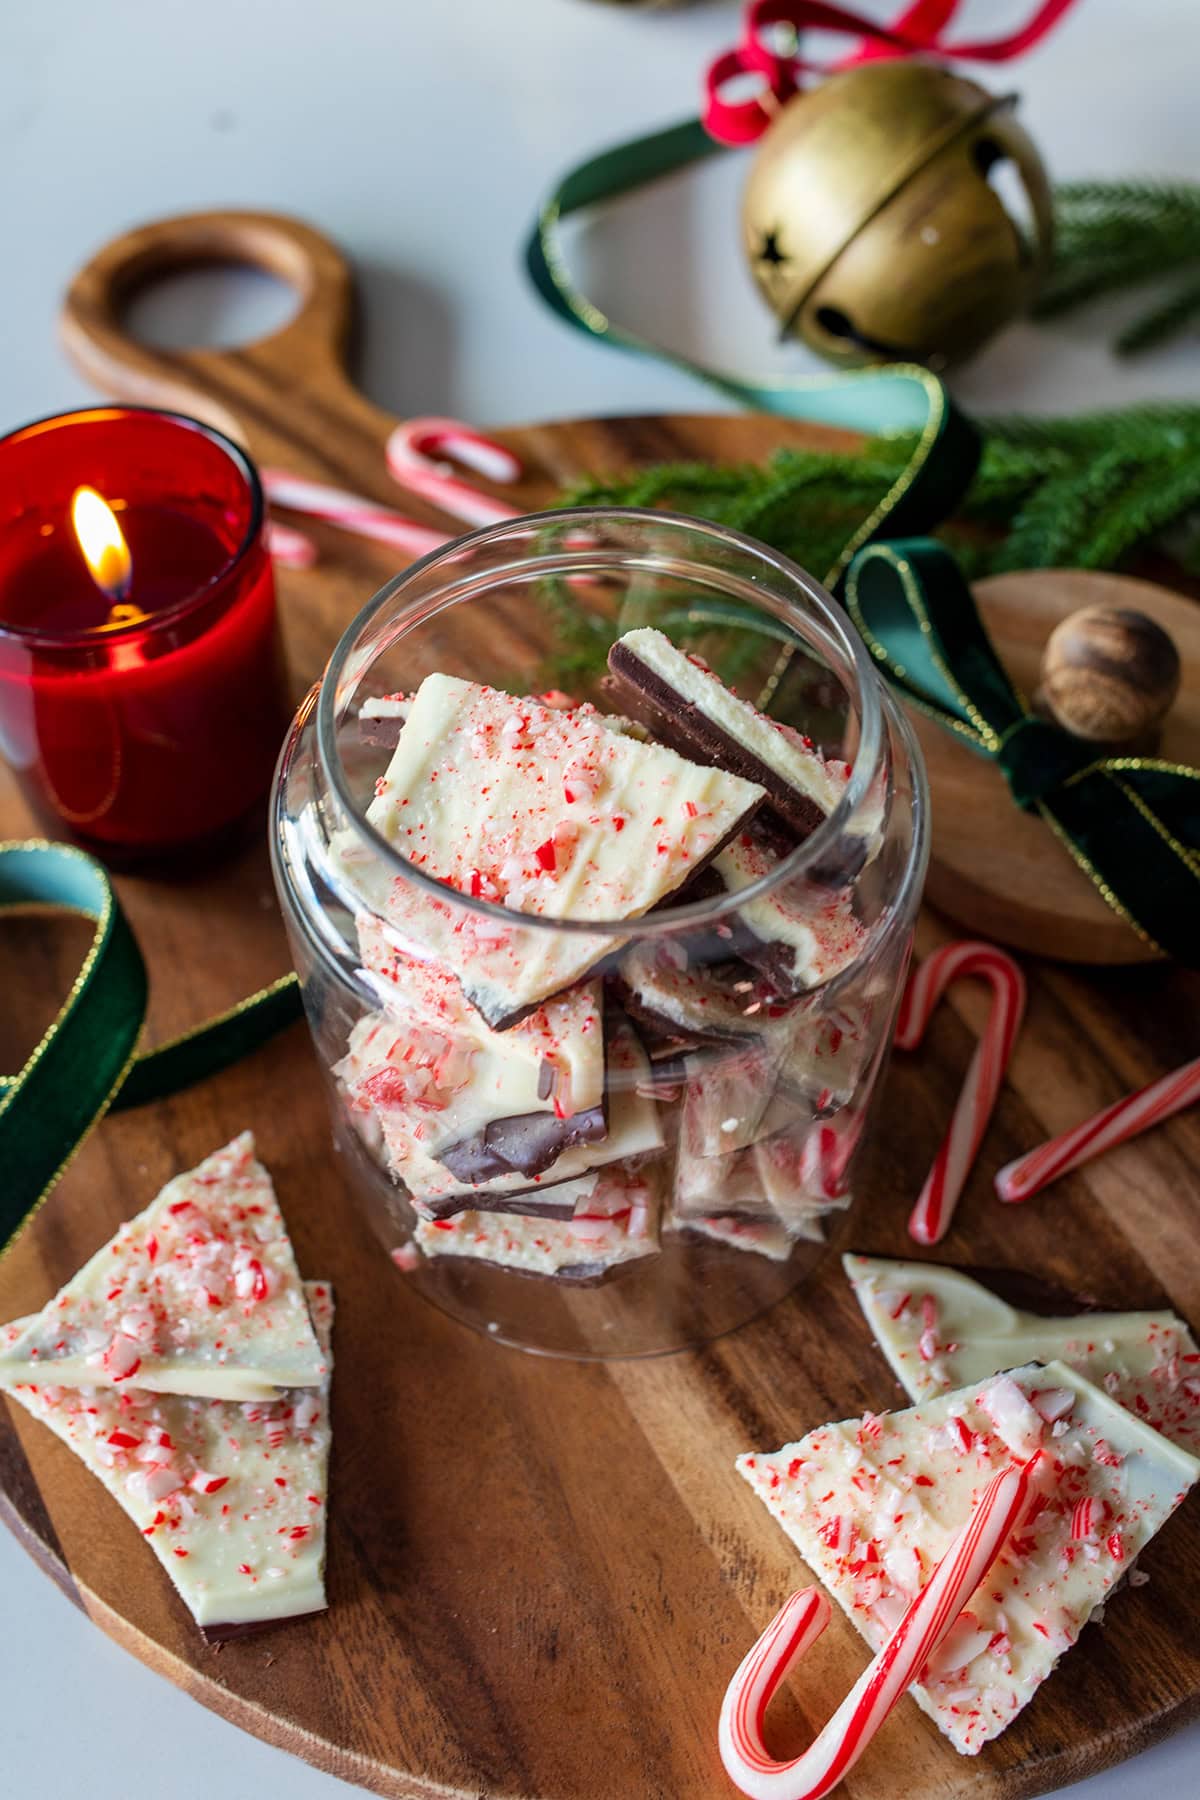
I love the peppermint bark that comes in those pretty Williams Sonoma tins. For this homemade version, we're using good chocolate, adding peppermint flavor to both layers or chocolate, and spreading everything thin enough that you can easily bite through it. A jar full of these pieces with a velvet ribbon tied around the lid makes such a sweet Christmas gift.
If chocolate and candy canes are your favorite holiday combination, you'll also love my Christmas Puppy Chow!
Peppermint Bark Ingredients
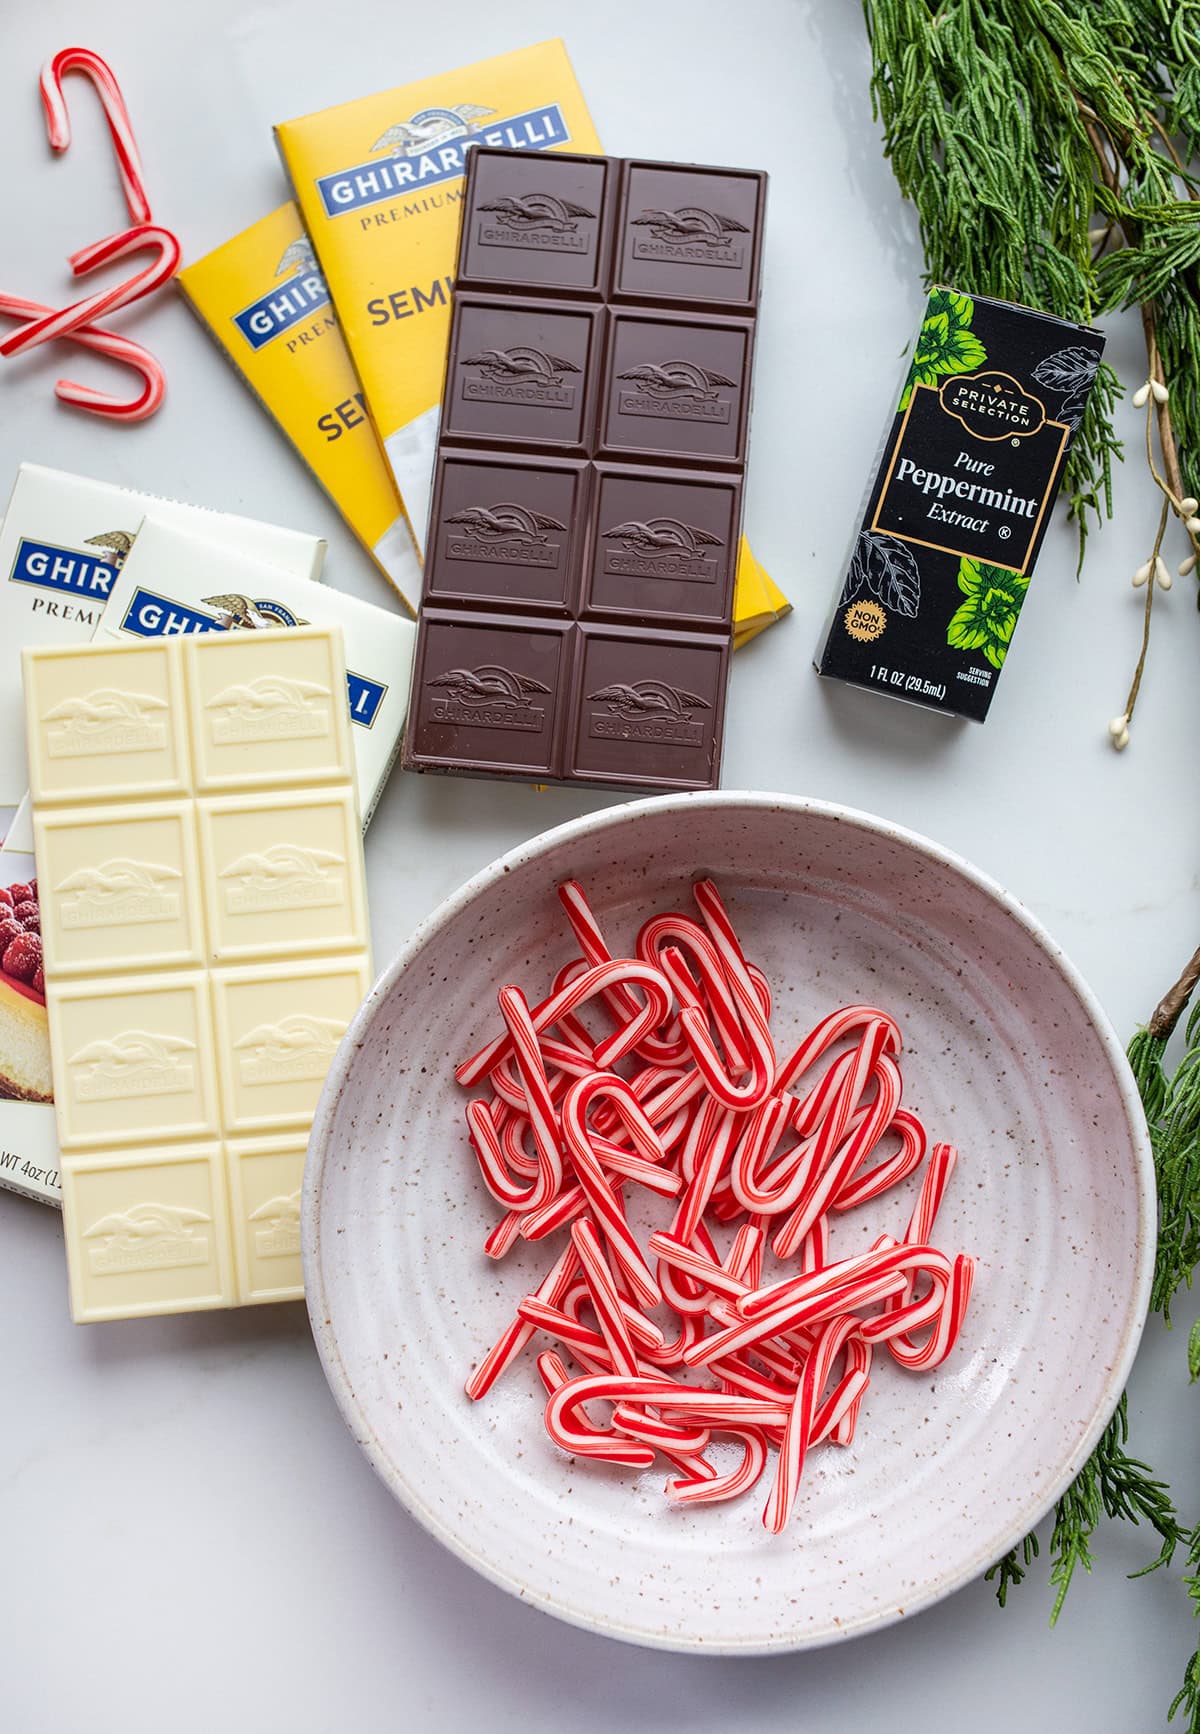
You only need four ingredients for this homemade Christmas candy.
- Semi-sweet chocolate: The bottom layer balances the sweetness of the white chocolate. I recommend Ghirardelli Chocolate bars for this.
- White chocolate: Choose real white chocolate with cocoa butter listed in the ingredients.
- Pure peppermint extract: A little goes into each chocolate layer, so the peppermint flavor comes from more than the candy on top. Use peppermint extract rather than mint extract!
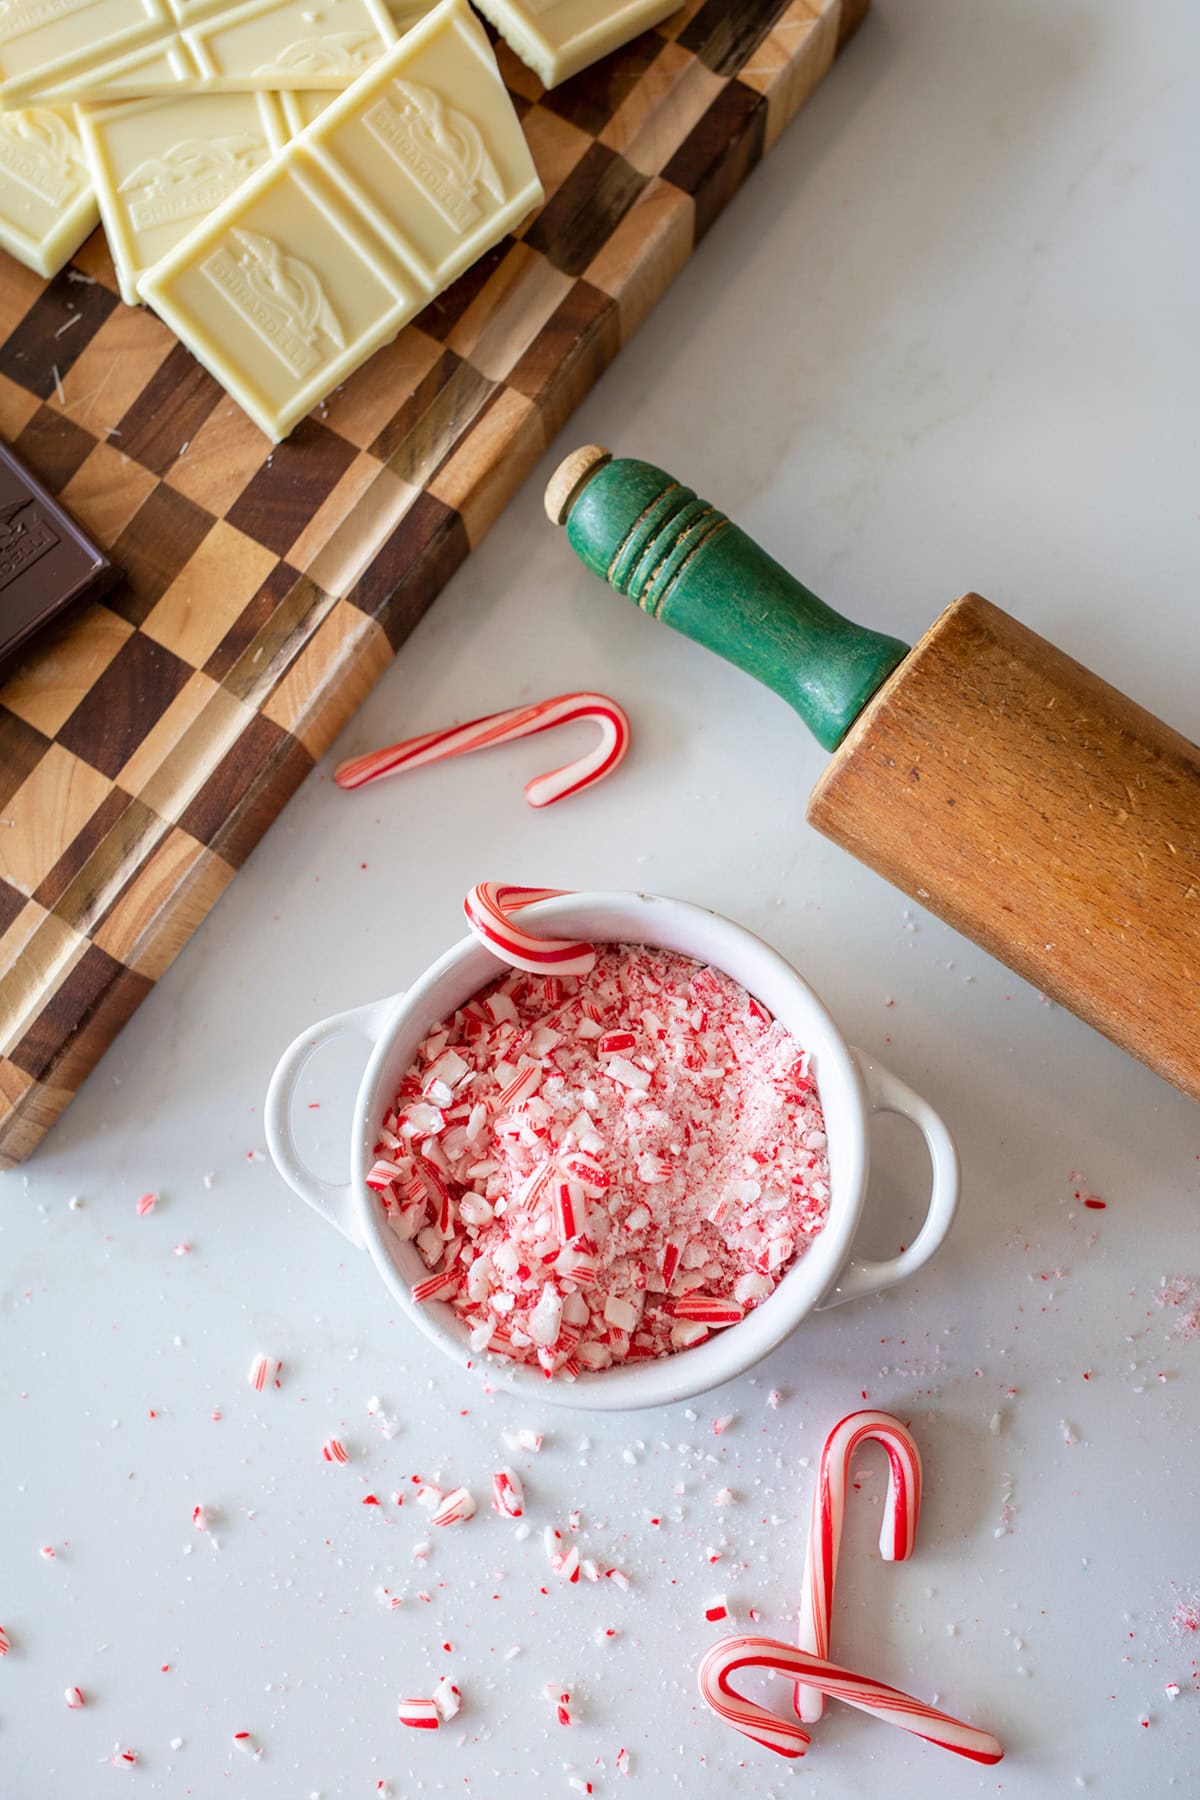
- Candy canes: Crush them into mostly small pieces with a few larger bits for texture. The fine pink-and-white crumbs are pretty sprinkled over the top and are easier to eat. If you can find pre-crushed candy cane in your grocery store, use that!
You'll find the full recipe amounts in the recipe card below.
How to Make Peppermint Bark
1. Prepare the pan and candy canes. Line a 12 x 16-inch rimmed sheet pan with parchment paper or a silicone baking mat. Place unwrapped candy canes in a sturdy zip-top bag and crush with a rolling pin.
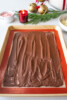
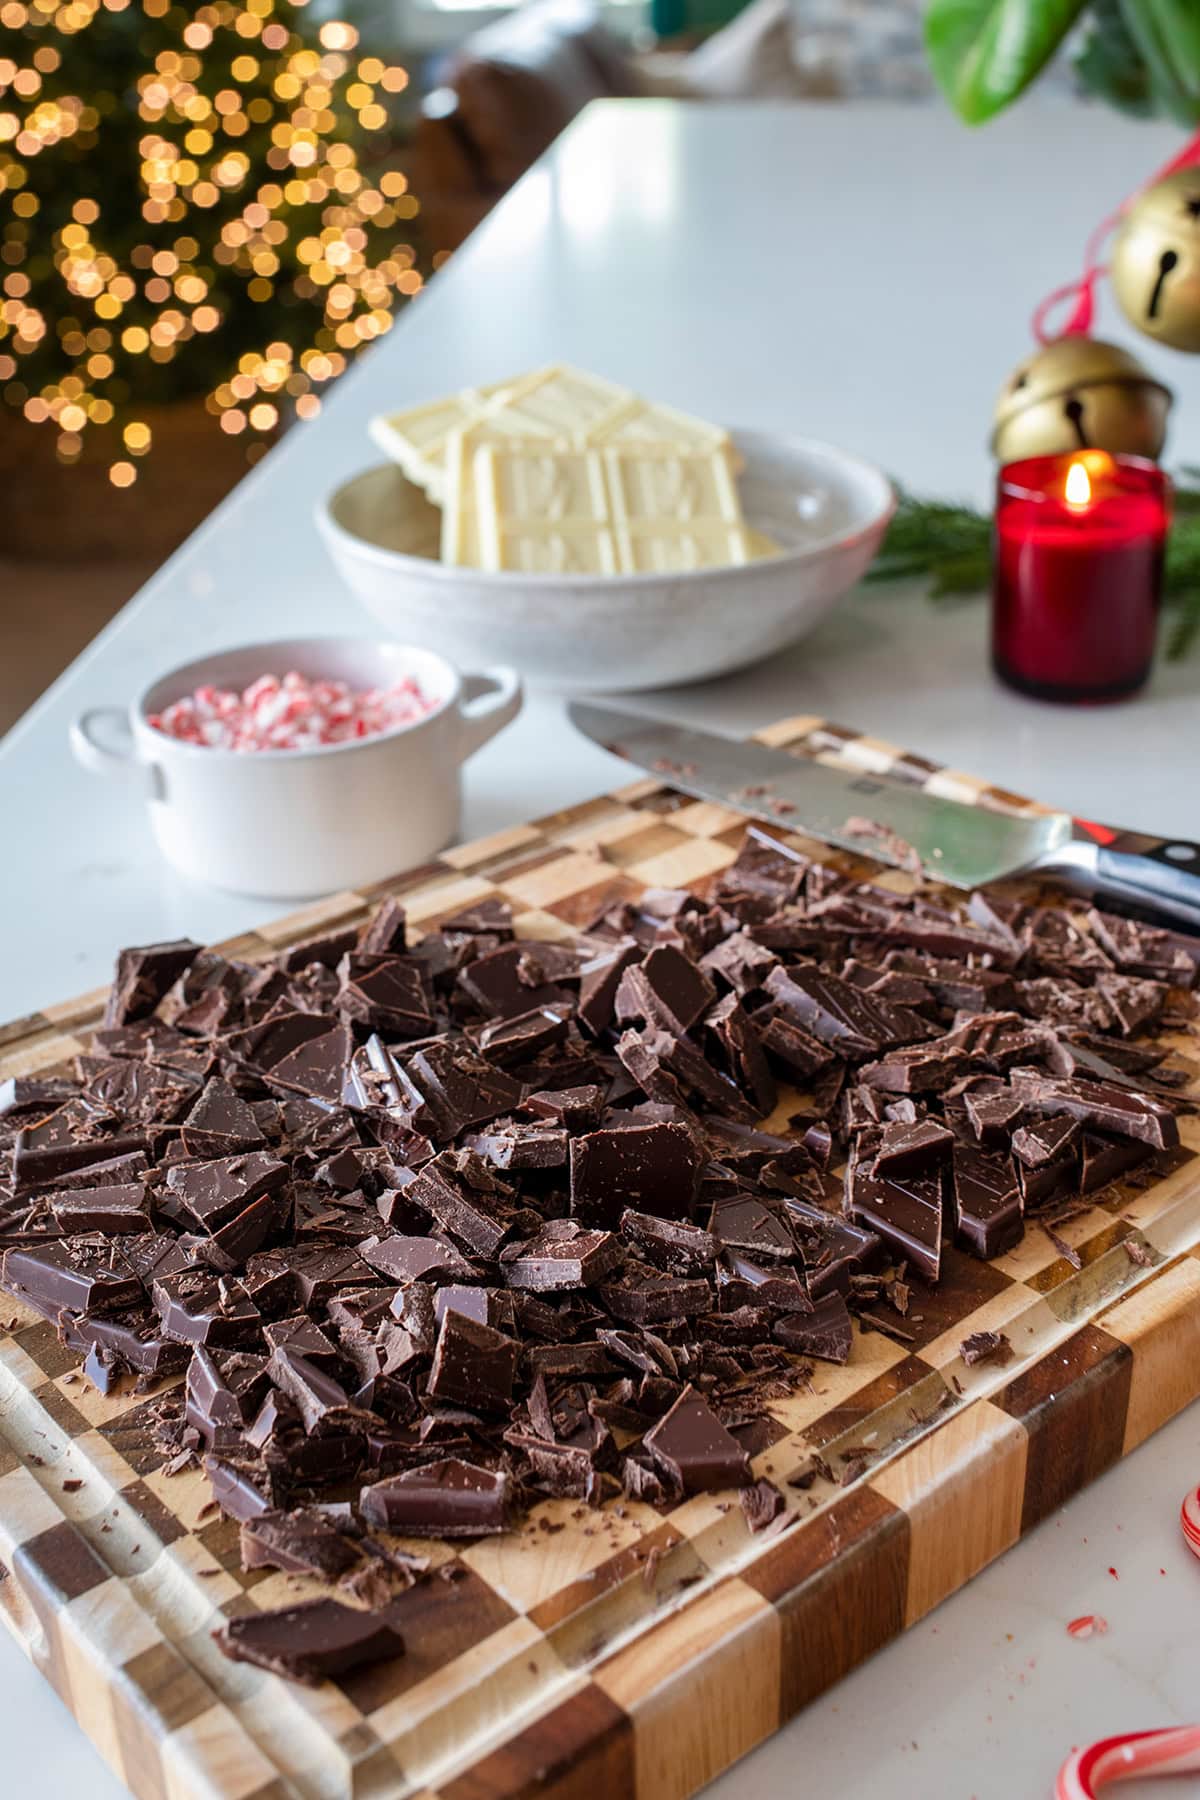
2. Melt the semi-sweet chocolate. Microwave the chopped chocolate at 50% power in short intervals, stirring well between each. Stop heating when a few small pieces remain and stir until smooth. Add ¼ teaspoon peppermint extract, then spread evenly over the lined pan.
3. Let the bottom layer partially set. Refrigerate briefly, checking after 5 minutes. The chocolate should hold its shape but still take a gentle fingerprint. It should not be completely hard and cold when you add the next layer.
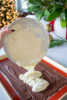
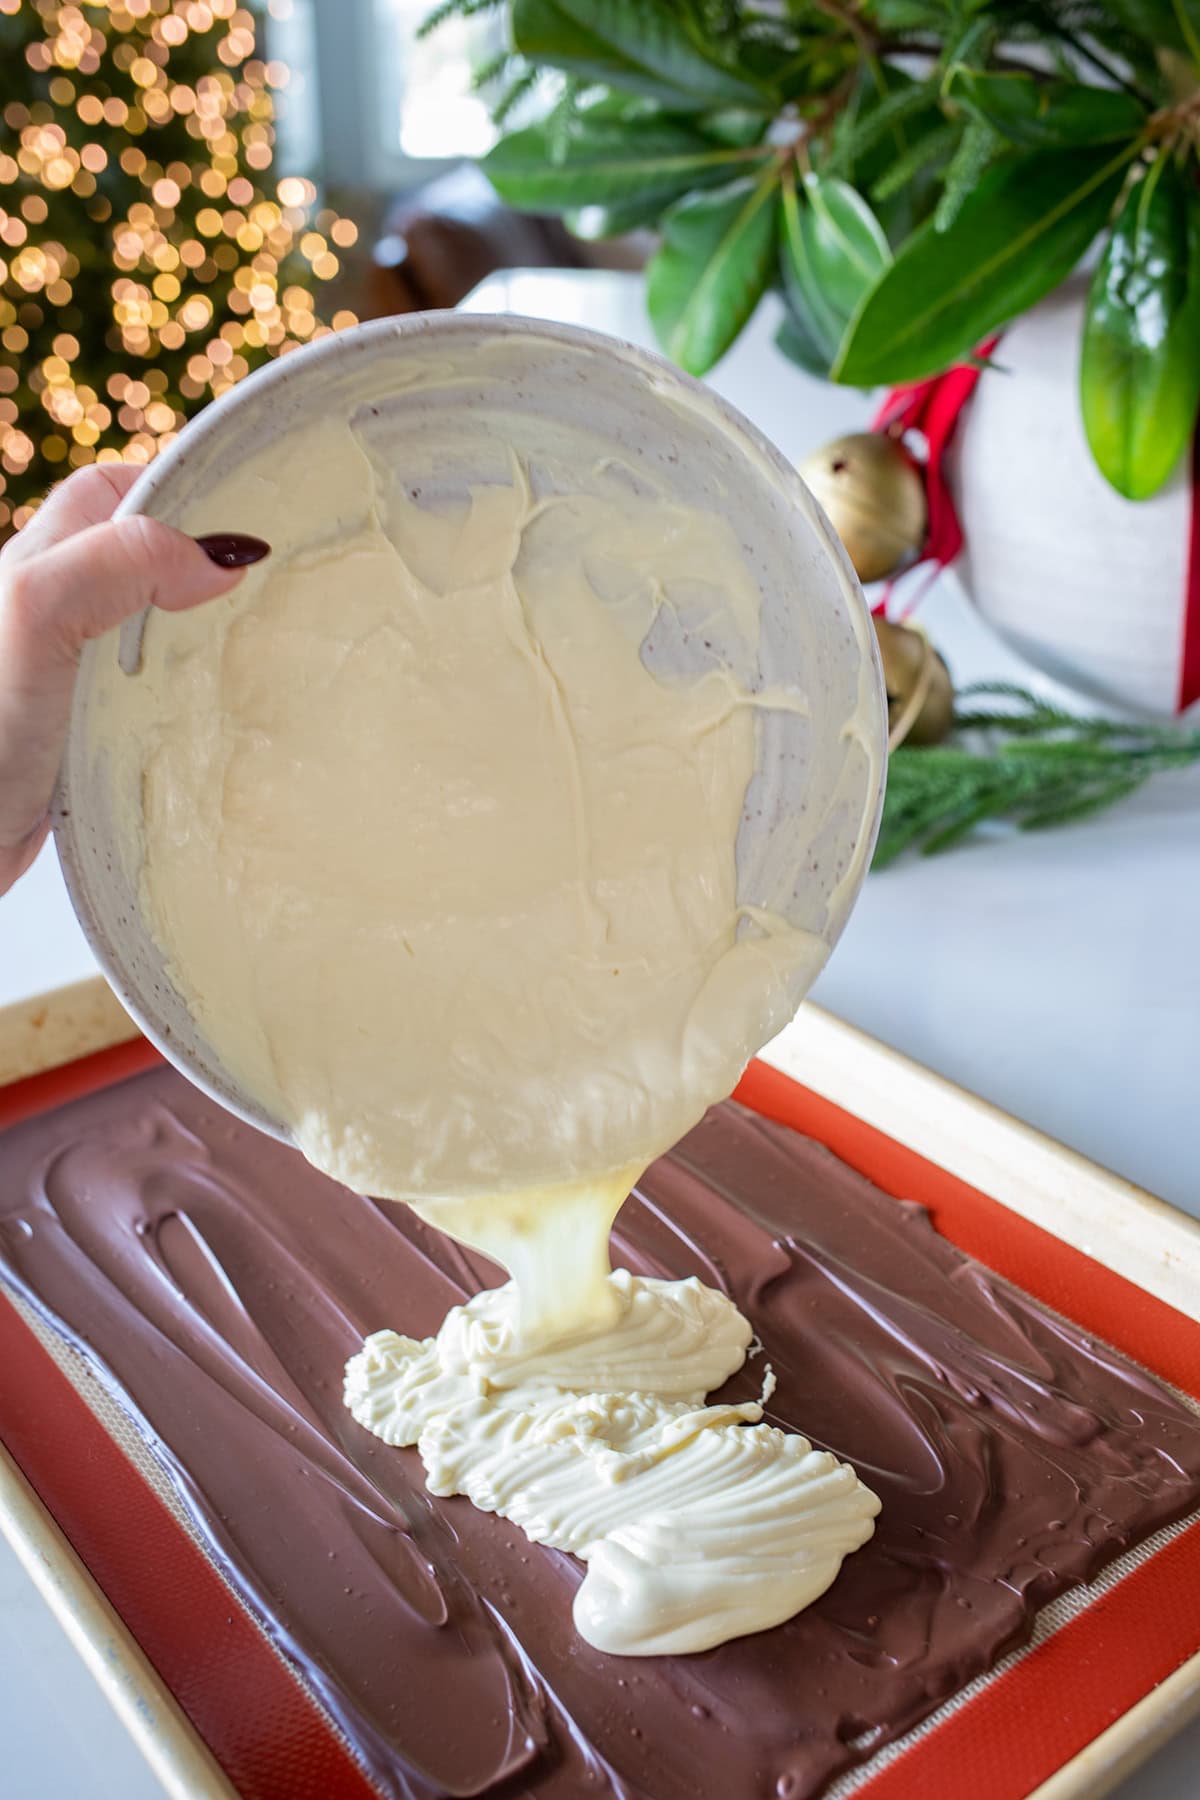
4. Add the white chocolate. Gently melt the chopped white chocolate in a separate bowl and stir in the remaining ½ teaspoon peppermint extract. Spread the just-warm, fluid chocolate over the partially set base, working gently so you keep the layers distinct.
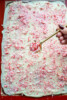
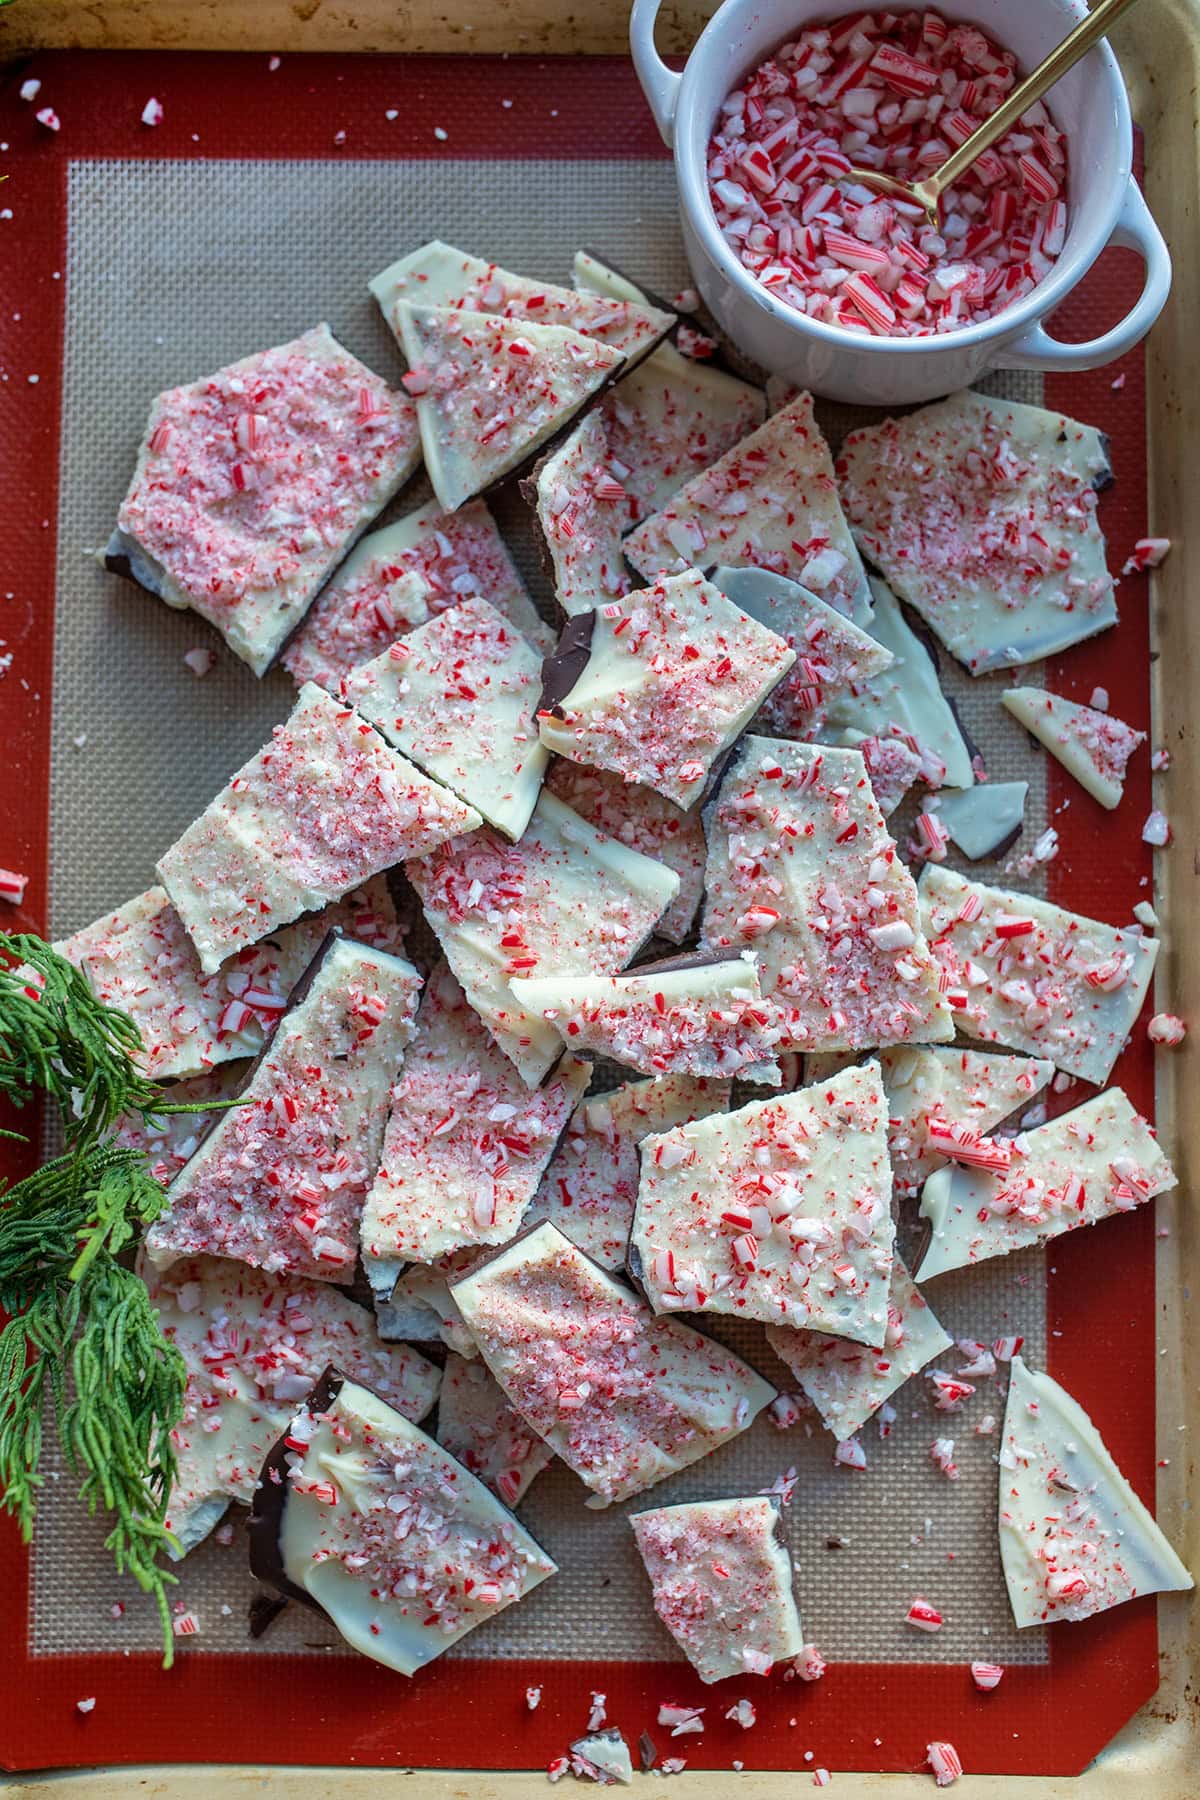
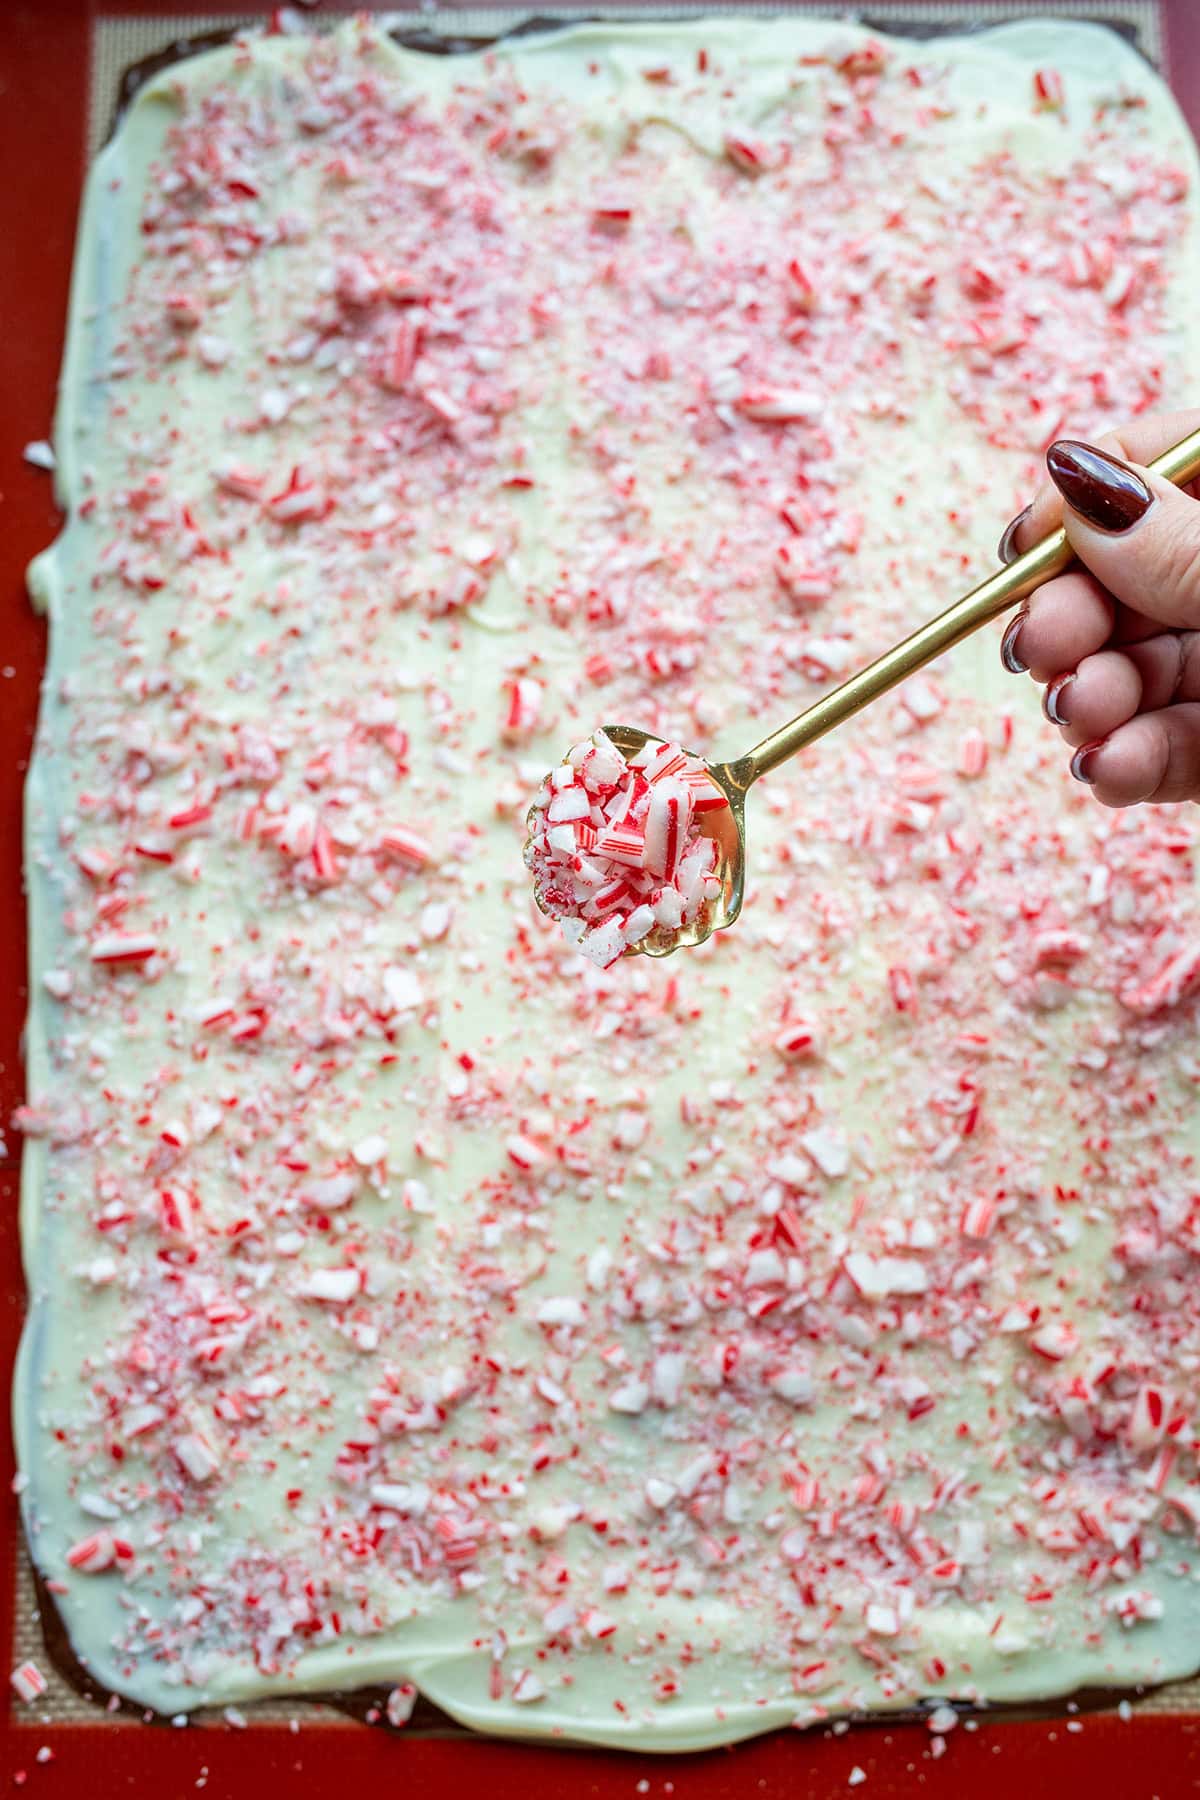
5. Sprinkle, chill, and break. Immediately add the crushed candy canes, pressing very lightly to help them stick. Refrigerate until completely firm, about 1 hour. Remove from the lining and break or cut with a sharp knife into pieces.
Tips for Making Peppermint Bark
- Grab the good chocolate. With only four ingredients, the chocolate really matters! I recommend Ghirardelli Milk Chocolate and White Chocolate Bars for this recipe. Do not use chips.
- Melt slowly. White chocolate is particularly sensitive to heat. Short microwave intervals and plenty of stirring help prevent scorching or you can use the double boiler method of melting.
- Keep your tools dry. Water or steam getting into melted chocolate can make it seize and turn thick or grainy.
- Watch the first layer. Add the white chocolate while the semi-sweet base is partially set to help the layers bond.
- Give it time to firm up. The finished bark needs to be completely set before you lift or break it. Allow additional chilling time if your bark is bendy instead of easy broken and snapped into pieces. Thicker layers of bark may require cutting with a sharp knife.
Do I need to temper the chocolate? This is a simple melt-and-chill recipe, so there's no tempering step. Tempering is an option for a more reliable room-temperature snap and glossy finish, but that is a separate method. The texture of this version will depend on your chocolate and how warm your kitchen is which is why I recommend refrigerating the final product!
Can I use a different pan? Yes. A smaller pan makes thicker bark, while a larger pan makes thinner bark if you spread it across the whole surface. On a larger baking sheet, you can also spread the chocolate over a smaller area. I spread mine out to about 9.5" x 14" on my silicone mat.
Peppermint Bark Christmas Gifts
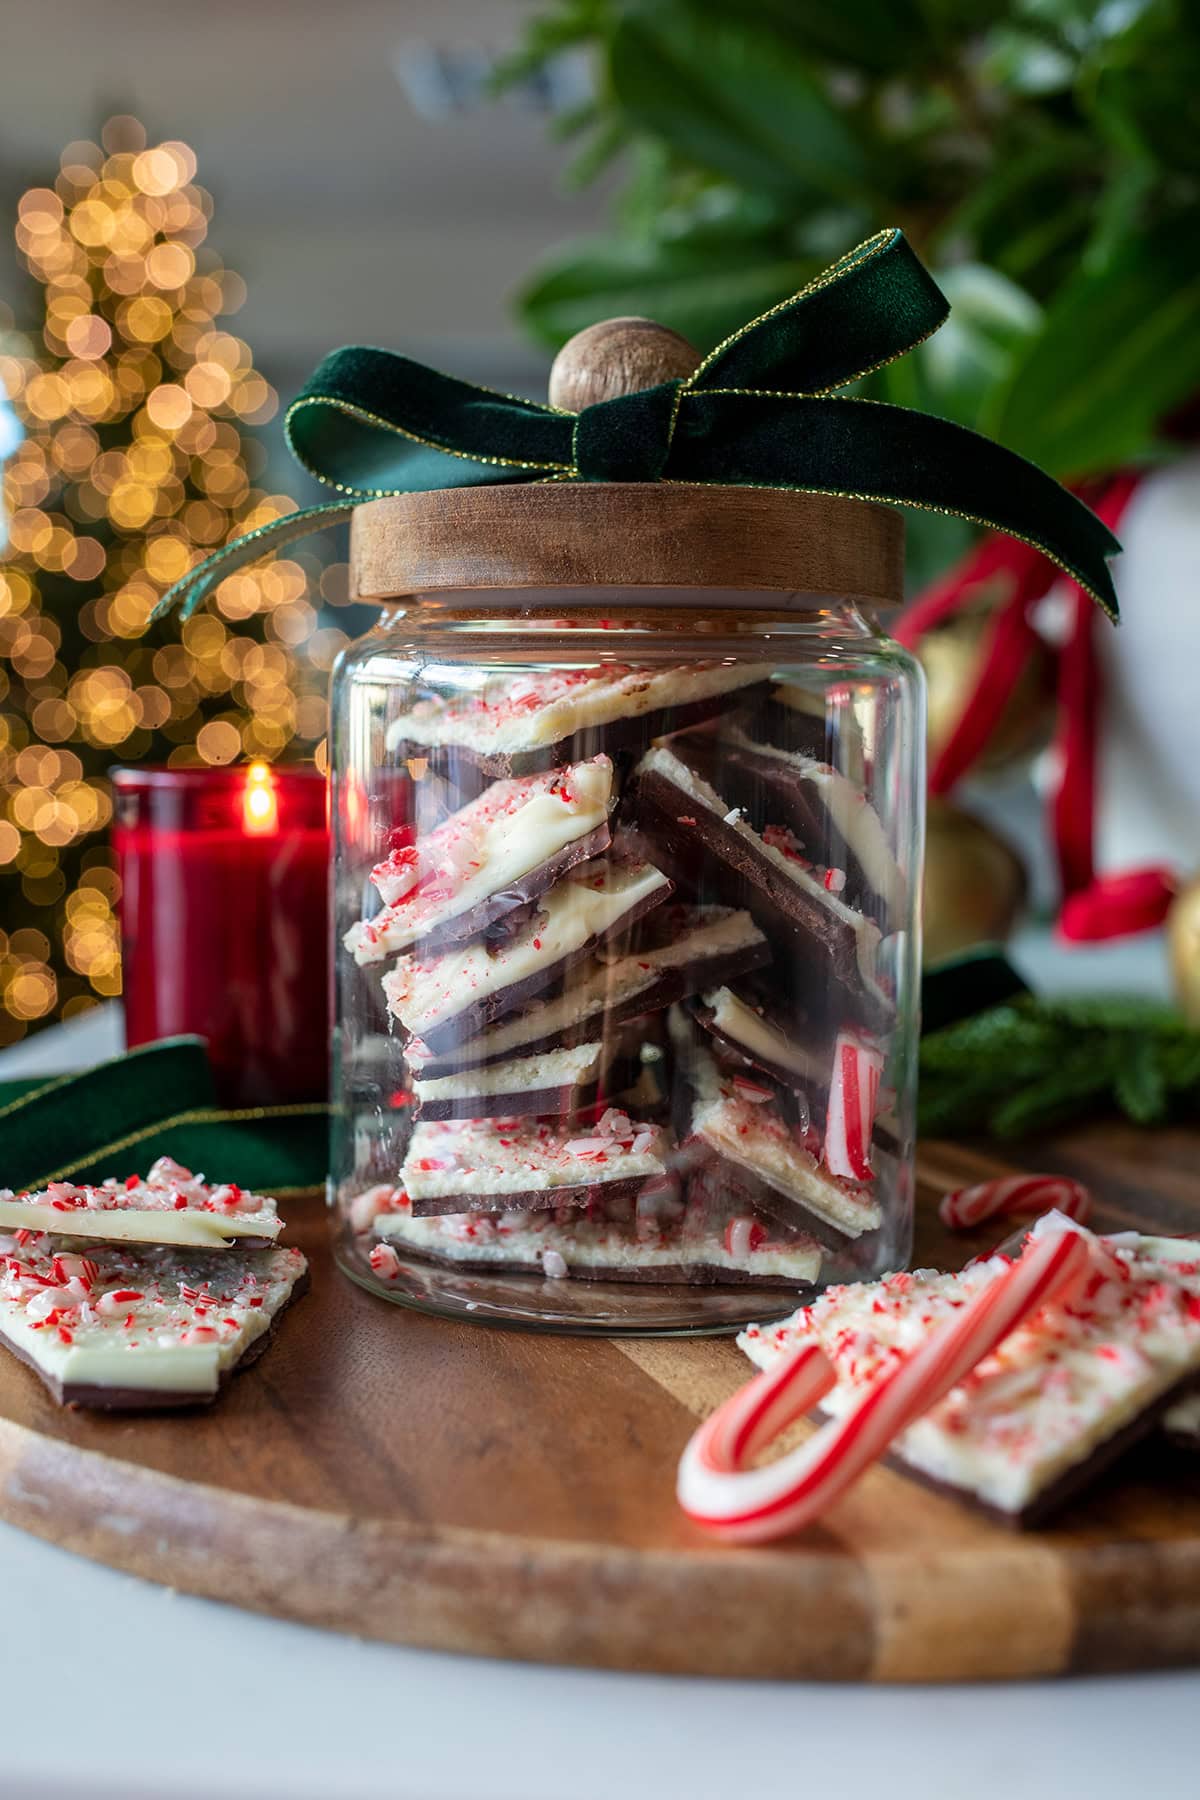
I packaged mine in a clear glass jar with a green velvet ribbon around the lid. You can see all those chocolate layers and candy cane pieces through the glass and it made the prettiest gift.
Food-safe Christmas tins and treat bags work beautifully, too. Package only once the bark is completely firm, and use parchment between stacked layers in a tin.
This recipe makes approximately 30 ounces, just under 2 pounds, depending on how much chocolate stays in the bowls. That's enough for about seven 4-ounce gifts, with a little left over for tasting.
How to Store Peppermint Bark
Store the bark in an airtight container in a cool, dry room for up to 1 week, or refrigerate for up to 3 weeks. If your kitchen is warm or the bark softens at room temperature, keep it refrigerated. I personally prefer to keep mine in the refrigerator because I like a firm snappy bark.
Keep gifts away from sunlight, heaters, and warm cars. When taking a refrigerated container out, let it warm while still closed to help limit condensation on the chocolate and candy.
More Giftable Christmas Treat Recipes:
- Butter Toffee Pretzels
- Reindeer Munch (Christmas Puppy Chow)
- Old Fashioned Bourbon Balls
- Peanut Brittle
- Christmas Wreath Cookies

Homemade Peppermint Bark
Thin layers of semi-sweet and white chocolate flavored with peppermint and topped with crushed candy canes. An easy homemade Christmas candy for sharing and gifting.
Ingredients
- 12 ounces (340 g) semi-sweet chocolate bars, finely chopped
- 16 ounces (454 g) real white chocolate bars, finely chopped
- ¾ teaspoon pure peppermint extract, divided
- ½ cup (about 75 g) crushed peppermint candy canes
Instructions
- Line a 12 x 16-inch rimmed sheet pan with parchment paper or a silicone baking mat. If using parchment, leave a little overhang for lifting.
- Place unwrapped candy canes in a sturdy zip-top bag and crush with a rolling pin. Aim for mostly small pieces with a few larger bits. Measure ½ cup and set aside.
- Place the chopped semi-sweet chocolate in a completely dry microwave-safe bowl. Heat at 50% power in 30-second intervals, stirring thoroughly after each. Stop heating when a few small pieces remain and stir until completely smooth.
- Stir ¼ teaspoon peppermint extract into the melted semi-sweet chocolate. Spread in an even, thin layer across the lined pan. *I spread mine out to about 9.5" x 14" on my silicone mat but you can make it as thick or thin as you personally like.
- Refrigerate briefly, checking after 5 minutes. The surface should hold its shape but still take a gentle fingerprint. Remove before the layer becomes completely hard and cold; timing will vary.
- Meanwhile, place the white chocolate in a separate dry microwave-safe bowl. Heat at 50% power in 20-second intervals, stirring thoroughly after each. Stop heating when a few small pieces remain and stir smooth. Stir in the remaining ½ teaspoon peppermint extract.
- Pour the just-warm, fluid white chocolate over the partially set semi-sweet layer. Gently spread to cover, using as few passes as possible to avoid melting the semi-sweet layer and mixing the chocolates.
- Immediately sprinkle with the crushed candy canes, pressing them very lightly into the white chocolate.
- Refrigerate until completely firm, about 1 hour, allowing more time if needed. Remove from the pan and peel away the lining. Break or cut into pieces.
- Store in an airtight container in a cool, dry place or the refrigerator. Refrigerate for firmer more crisp bark. Package for gifts only once completely firm.
Notes
Chocolate: Use chopped baking bars, with cocoa butter in the white chocolate. Chips and melting wafers are not direct equivalents for flavor, melting behavior, or finished texture.
Melting on the stove: You can melt each chocolate separately in a dry heatproof bowl over a saucepan of gently simmering water. Keep the bowl above the water, stir frequently, and prevent steam or water from entering the chocolate.
Peppermint: Use pure peppermint extract. Concentrated peppermint oil is not a teaspoon-for-teaspoon substitute.
Pan size: A 12 x 16-inch pan makes a thin sheet. A smaller pan makes thicker bark and may need additional chilling time. *I spread mine out to about 9.5"x14" on my silicone mat.
Storage: Keep airtight for up to 1 week in a cool, dry room or up to 3 weeks refrigerated. Refrigerate for firmer more crisp bark.
Gifting yield: Approximately seven 4-ounce portions, plus a little extra. Finished yield is an estimate and varies with chocolate left in the bowls and small crumbs.
Nutrition Information:
Yield: 12 Serving Size: 1Amount Per Serving: Calories: 404Total Fat: 20gSaturated Fat: 13gUnsaturated Fat: 8gCholesterol: 14mgSodium: 60mgCarbohydrates: 49gFiber: 1gSugar: 44gProtein: 4g


Did you make this recipe? Let me know!